Exploring Pharloom: A Comprehensive Guide to Hollow Knight: Silksong's World
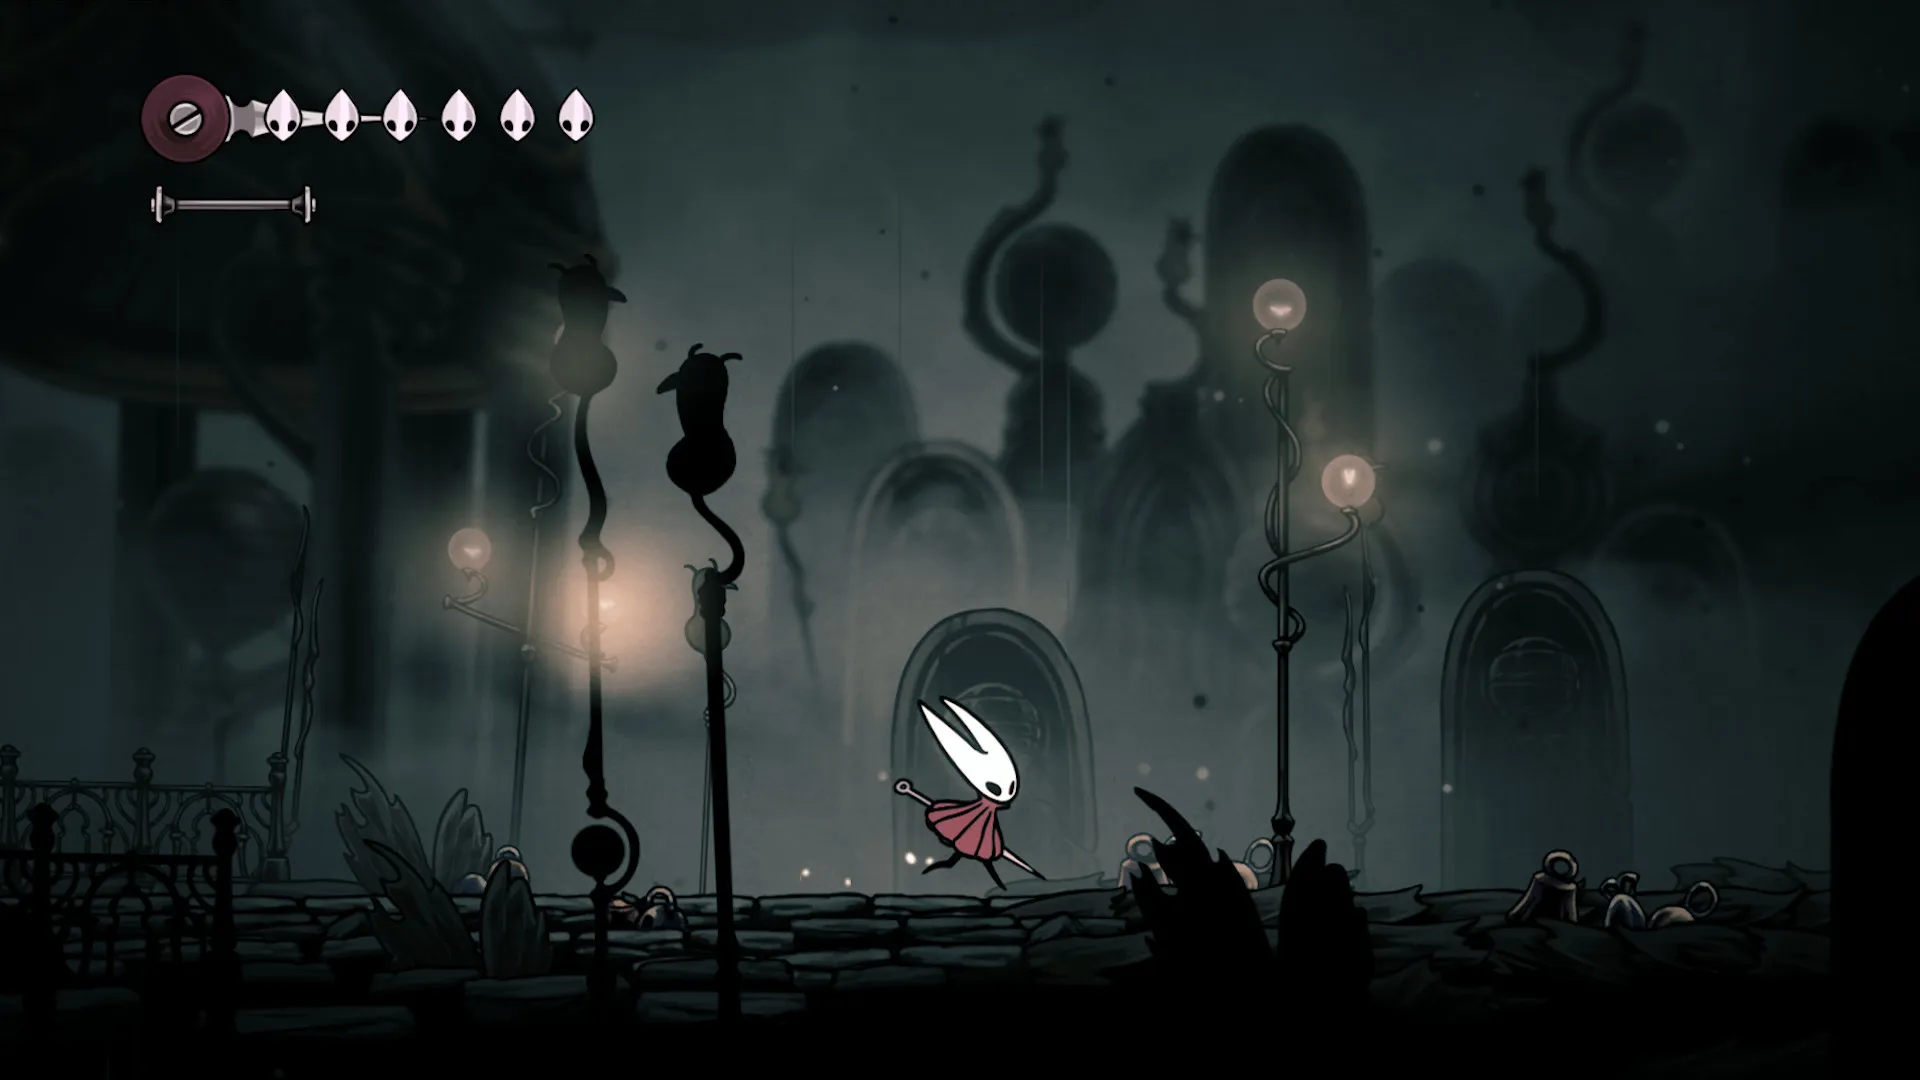
Hollow Knight: Silksong, the highly anticipated sequel to the critically acclaimed Hollow Knight, invites players to embark on a perilous journey through the brand-new kingdom of Pharloom. Stepping into the role of Hornet, the nimble protector, players will navigate an expansive, interconnected world brimming with unique challenges, mysterious lore, and formidable adversaries. This guide delves into the intricate mechanics governing Hornet's adventure and outlines the diverse regions that comprise Pharloom, providing a roadmap for new and returning adventurers alike.
Hornet's Arsenal and Abilities

As Hornet, players will utilize a distinctive set of skills and tools crucial for survival and progression in Pharloom.
Vitality and Resilience
Hornet's health is represented by a series of Masks, initially starting with five, with the potential to acquire more throughout her journey. Damage from foes or environmental hazards depletes these Masks. Health can be replenished using the Bind ability, which consumes a full Silk spool. Additionally, temporary Lifeblood Masks can be obtained via Lifeblood needles, offering momentary boosts to Hornet's vitality.
Silk and Special Techniques
Silk, indicated by a spool beneath the health display, fuels Hornet's specialized abilities. The Bind ability, a form of focus, is one such use. Striking enemies with her Needle gradually refills the Silk spool, ensuring a continuous cycle of combat and recovery.
The Needle: A Versatile Weapon
Hornet's primary weapon is her Needle, a multi-functional tool essential for both offense and traversal. Beyond basic slashes and defensive blocks, the Needle enables swift dashes, piercing stabs, and acrobatic bounces over enemies. It can also be integrated with her abilities for amplified damage or deployed as a grappling hook to navigate Pharloom's complex environments.
Tools and Inventory
Tools are special, categorized items equipped onto a Crest with limited slots. These can serve as projectile weapons or defensive aids and do not consume Silk. Players can interchange Crests and Tools at Benches, similar to the Charm system in Hollow Knight. Hornet's inventory stores various collectible items, many of which are linked to specific quests, further enriching the exploration experience.
Navigating the Kingdom of Pharloom
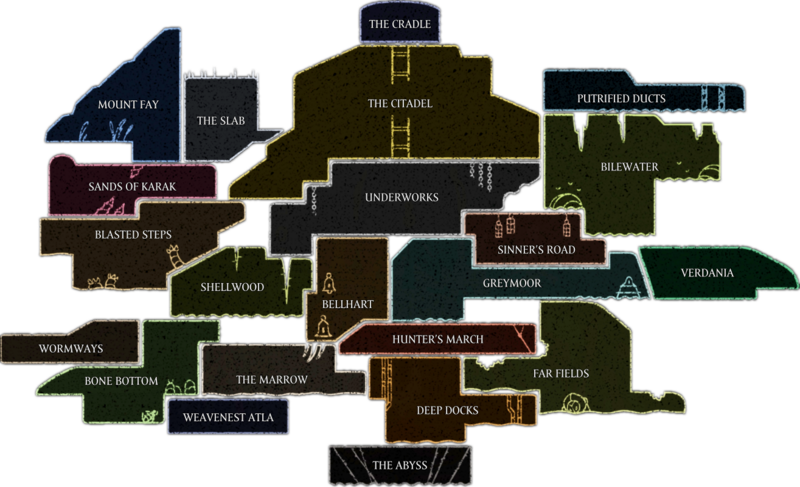
Pharloom is presented as a dangerous, sprawling maze, even more intricate than Hallownest. Its environments are atmospheric, immersive, and interactive, often featuring obstacles that can be exploited for movement, such as dashing, double-jumping, or even mounting elements to traverse areas.
Identified Regions within Pharloom
While some areas remain unnamed or were mentioned in early announcements (e.g., "Coral Forest," "Gilded City," "Lake of Fire/Bone Forest," "Bonebottom," "Moss Temple," "Soaring Warlord's Tower"), a significant number of regions have been detailed:

- Moss Grotto: Hornet's initial area, covered in moss, featuring breakable walls and the first boss, Moss Mother.
- The Marrow / Mosshome: Connected to Moss Grotto and Deep Docks, transitioning from moss to rocky terrain with increasing heat and bone-like structures. Introduces Bellways and Shakra.
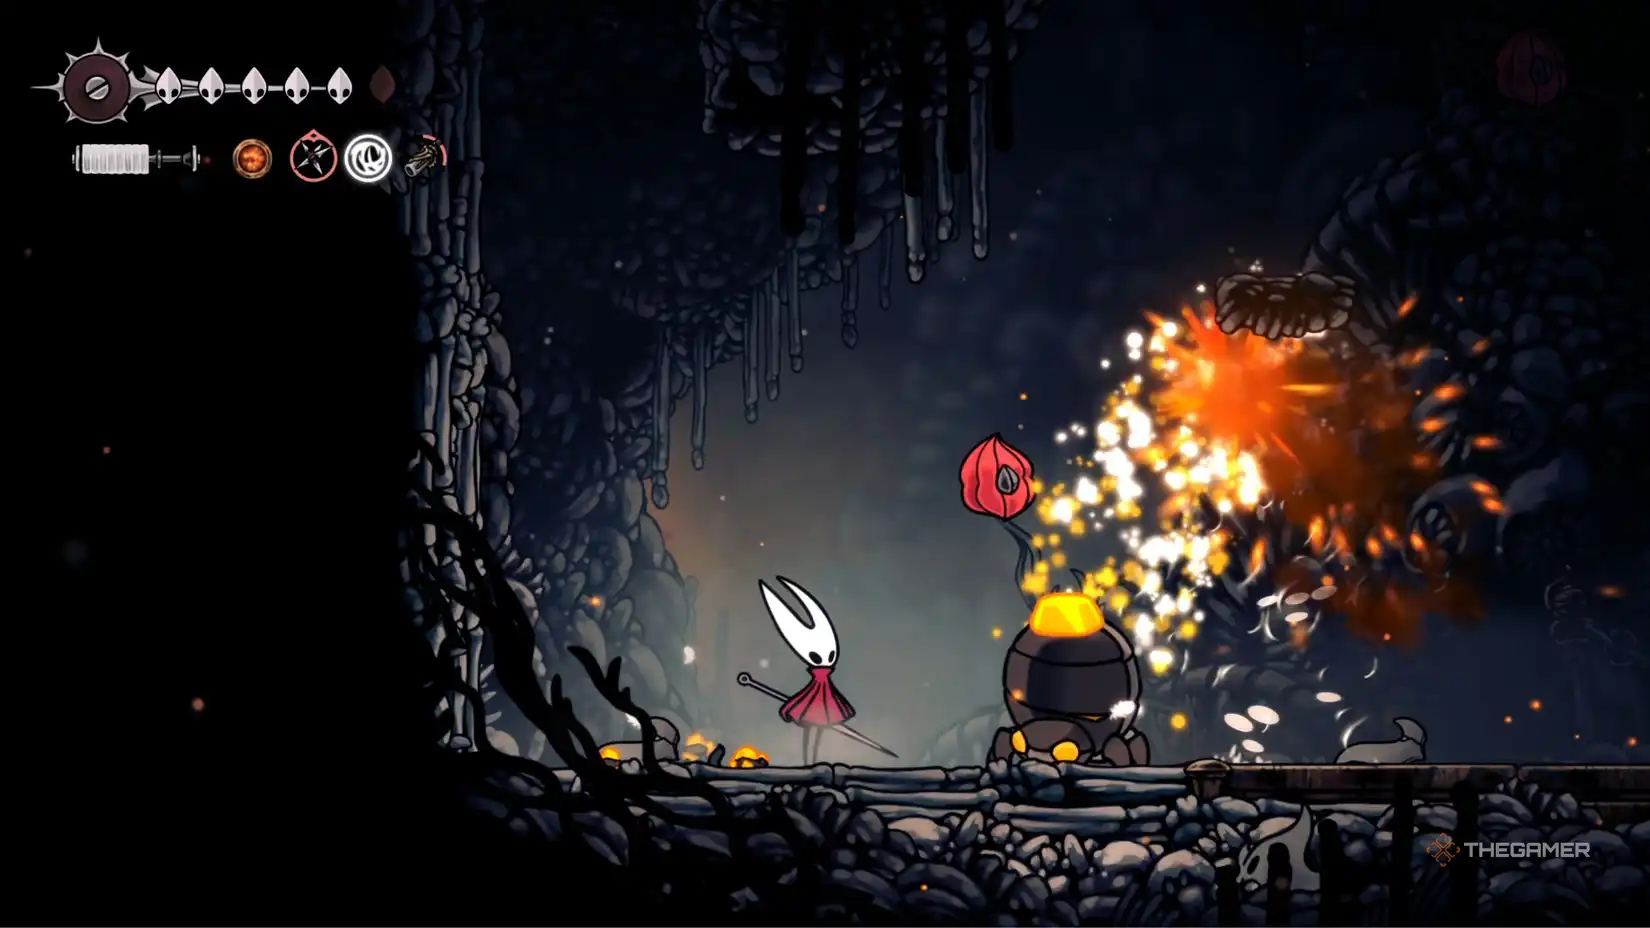
- Deep Docks: Characterized by flowing lava, armored enemies, and metallic structures, potentially hinting at the Forge Daughter's influence. Lace is encountered here. This region grants the crucial Swift Step ability.
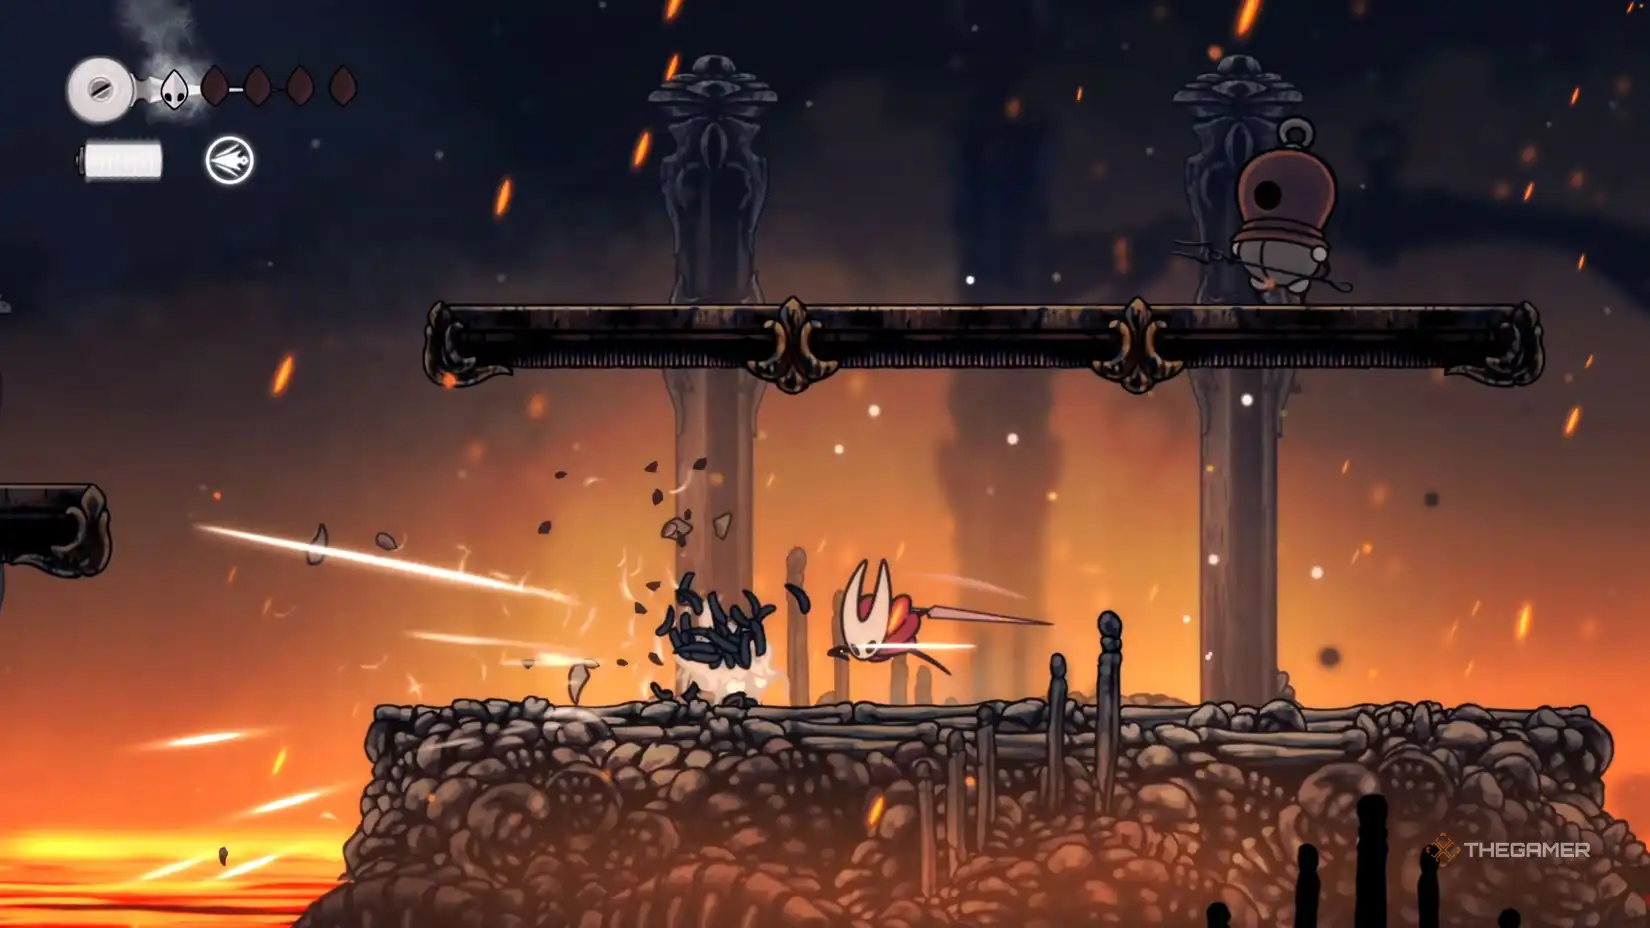
- Far Fields: Heat continues to be a factor, with lava currents creating updrafts that Hornet can utilize with the Drifter's Cloak. Leads to a boss fight with the Fourth Chorus.
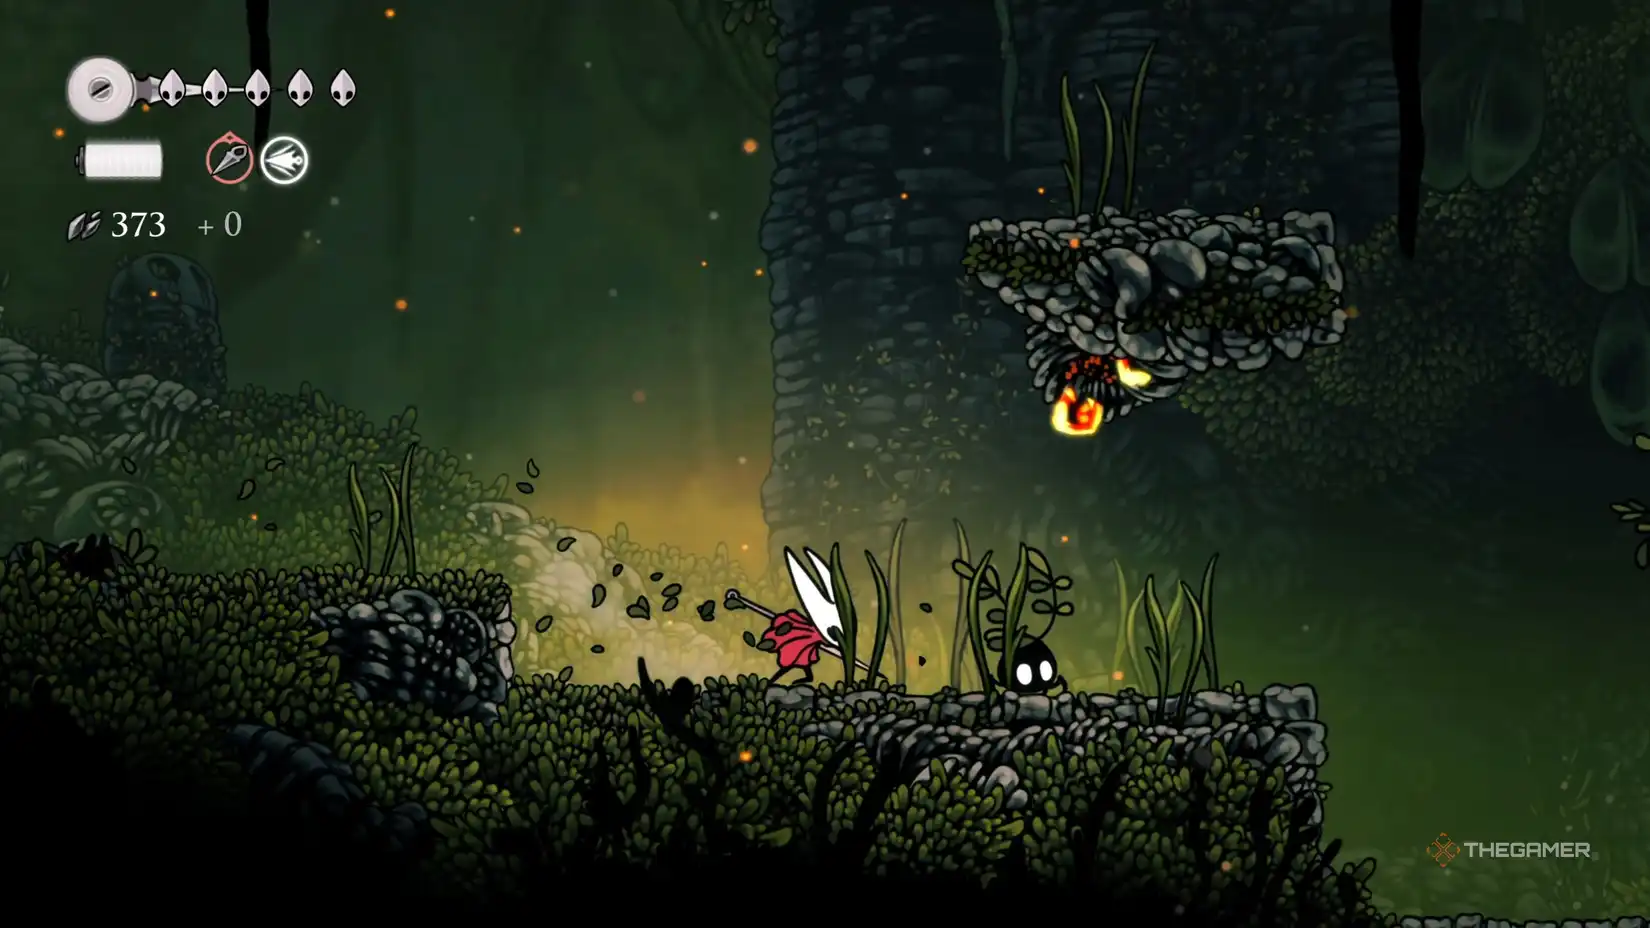
- Greymoor: A vast region known for its dilapidated towers, armed enemies, and numerous secrets. Home to the challenging Moorwing boss, and features the Halfway Home rest area.

- Bellhart: Dominated by bell-themed architecture and connected to Shellwood and Greymoor, with a hidden entrance from The Marrow. Unlocks the Needolin ability after defeating Widow.

- Shellwood: A region with diverse flora and inhabitants, home to the Sister Splinter boss and the essential Cling Grip ability, vital for vertical progression.
- Blasted Steps: A barren, vertical landscape ravaged by sandstorms and winds, demanding precise Cling Grip usage. Features enemies like Great Conchflies and the Act 1 final boss, the Last Judge.
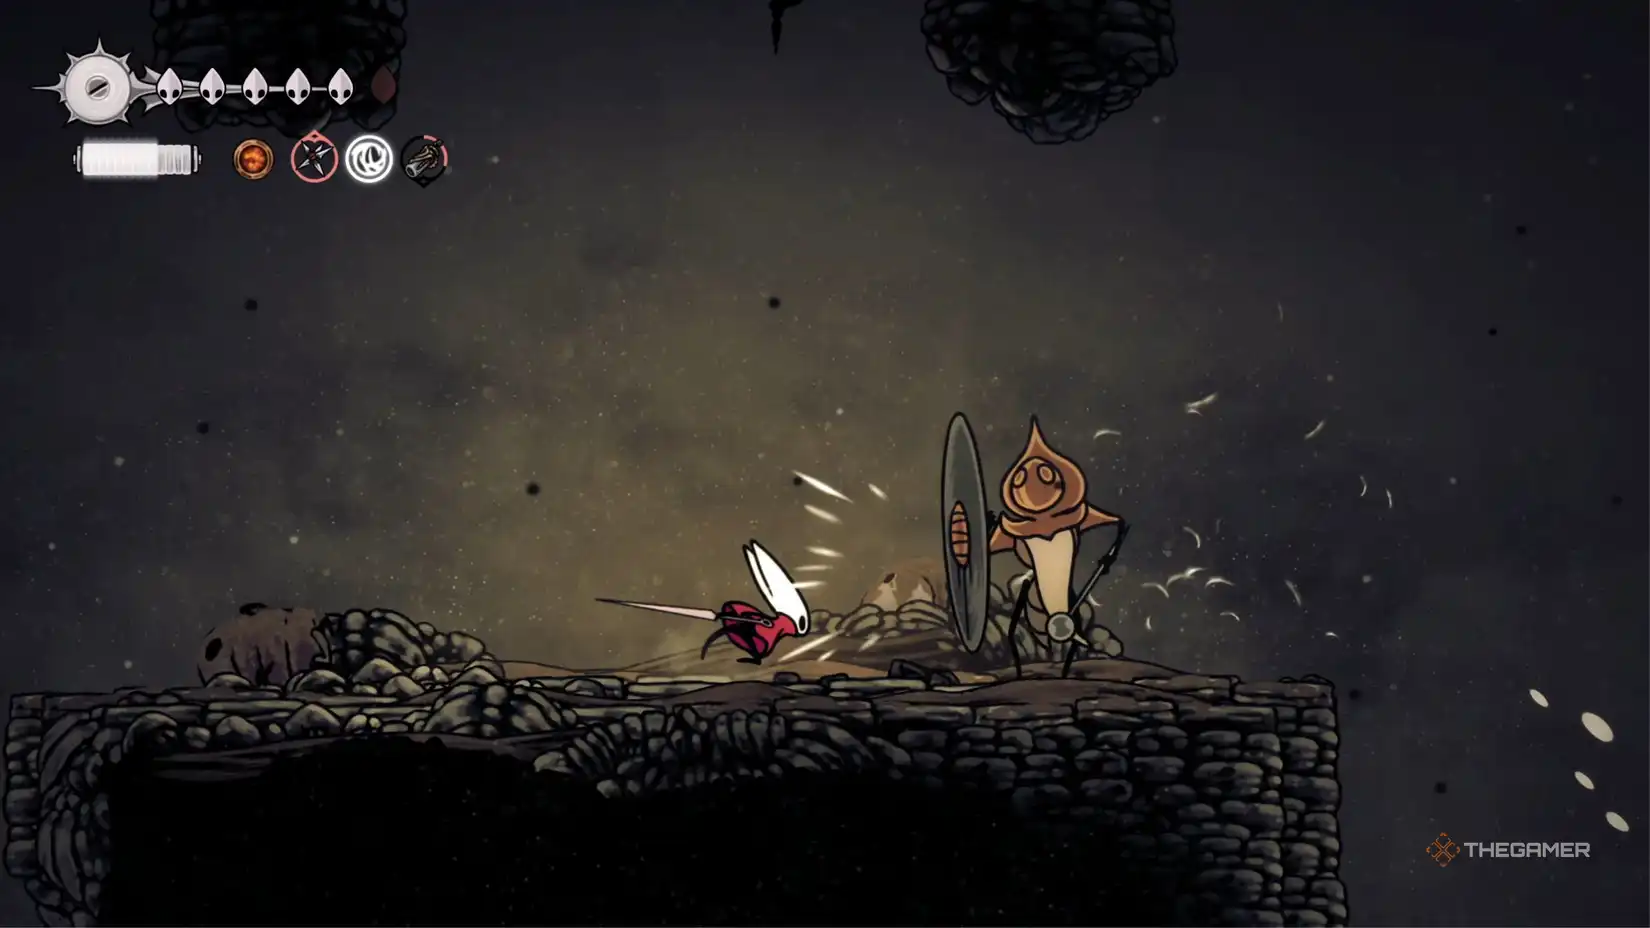
- Underworks (West/East): The Citadel's bleak basement, where workers are exploited. Benches are single-use, and a confessional offers repentance for a fee. The east side unlocks the Clawline ability.
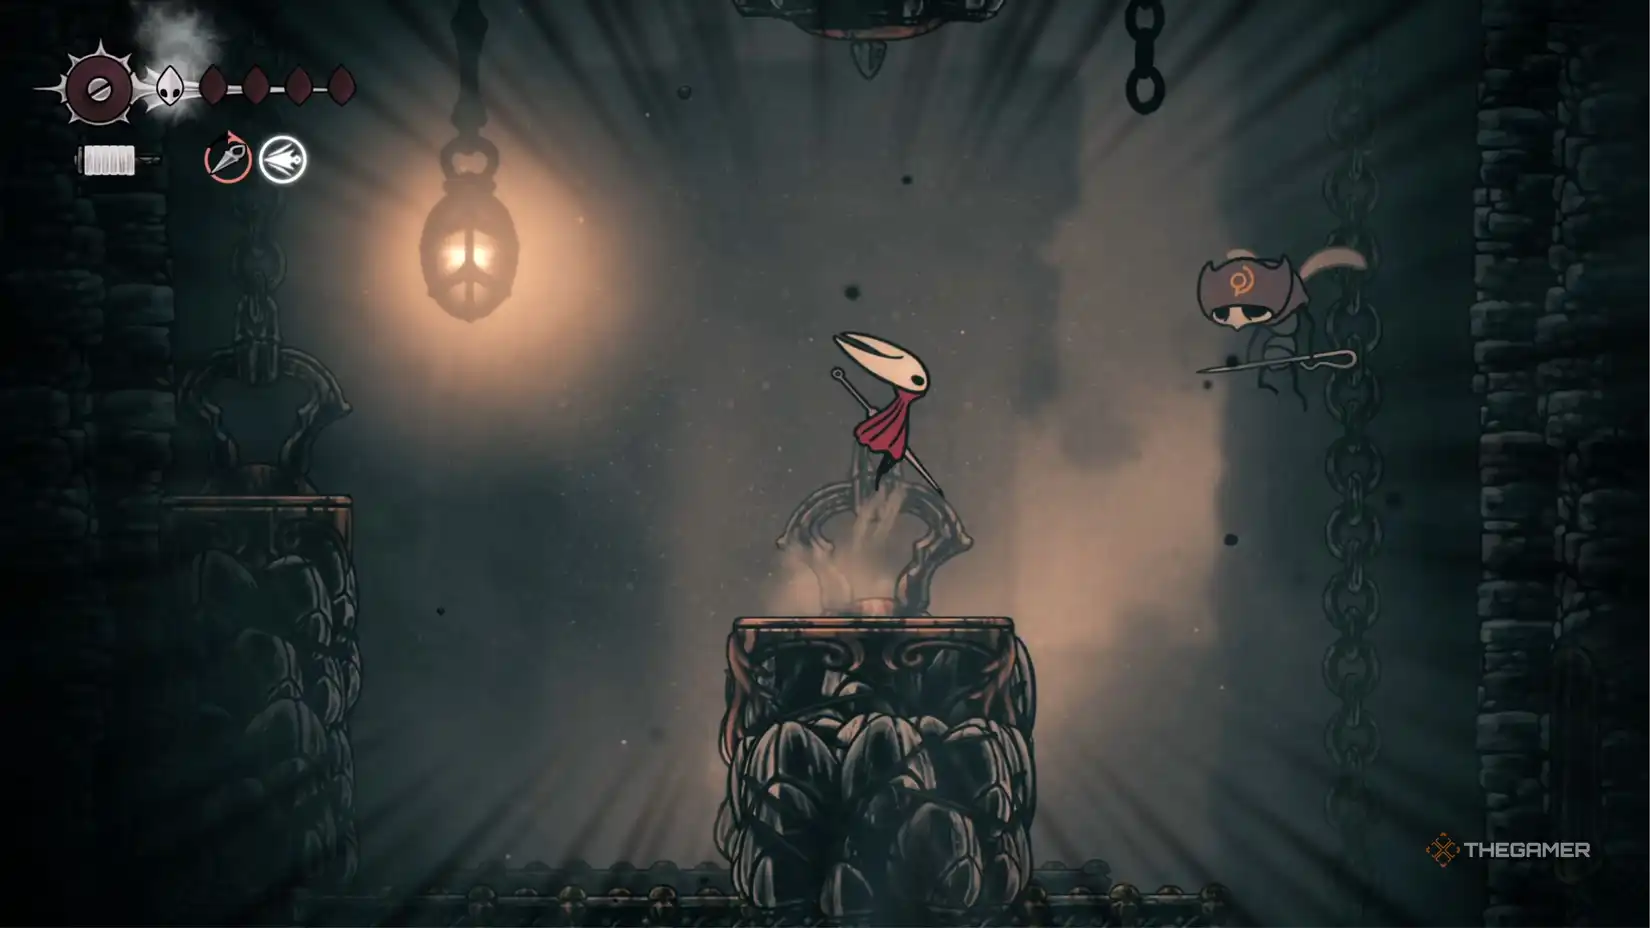
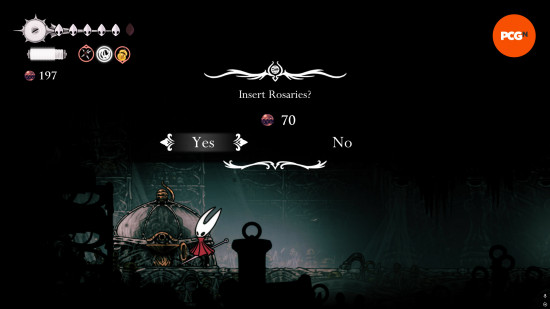
- Choral Chambers: An opulent area within The Citadel, housing the Grand Bellway and the settlement of Songclave. An excellent spot for Rosary farming and the site of the Cogwork Dancers boss fight.
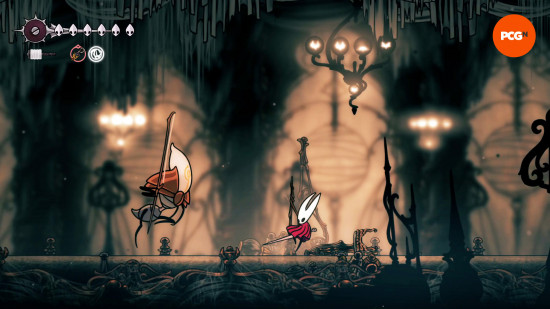
- Whiteward: A small connecting area between Choral Chambers and the Underworks East, providing access to the Injector Band tool.
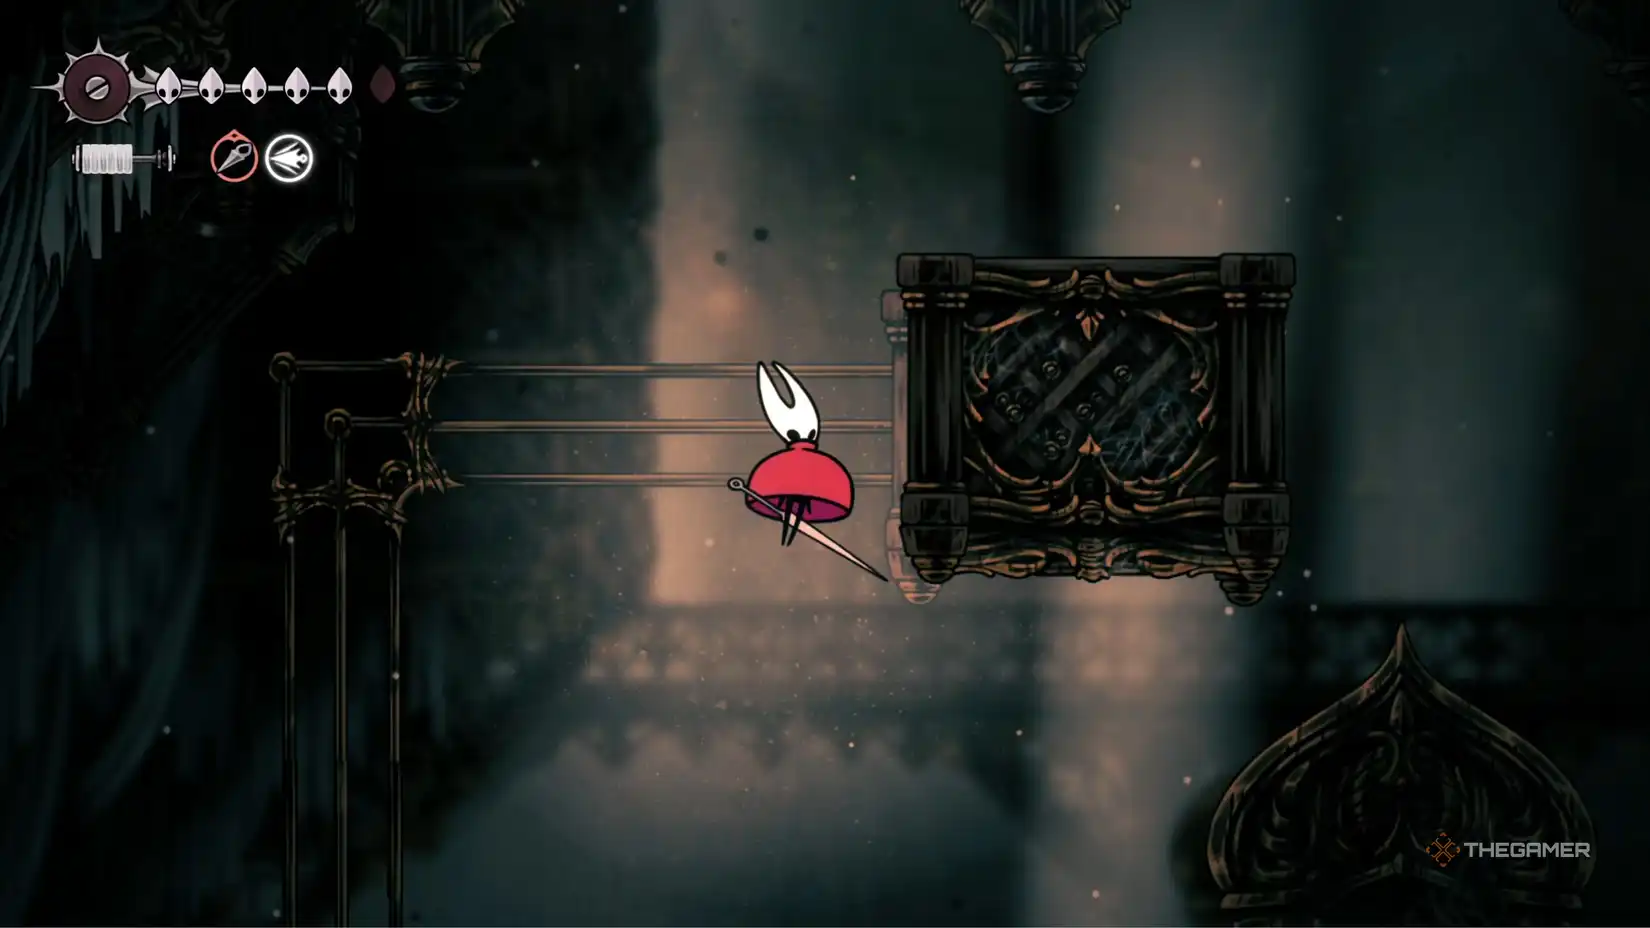
- Mount Fay: A treacherous, cold ascent that awards the Faydown Cloak, granting a double jump and cold resistance, significantly expanding exploration possibilities.

- Whispering Vaults: A vast library-like region filled with block puzzles, leading to the Vaultkeeper's Melody and the first Pale Oil upgrade for Hornet's Needle. Introduces the character TROBBIO.
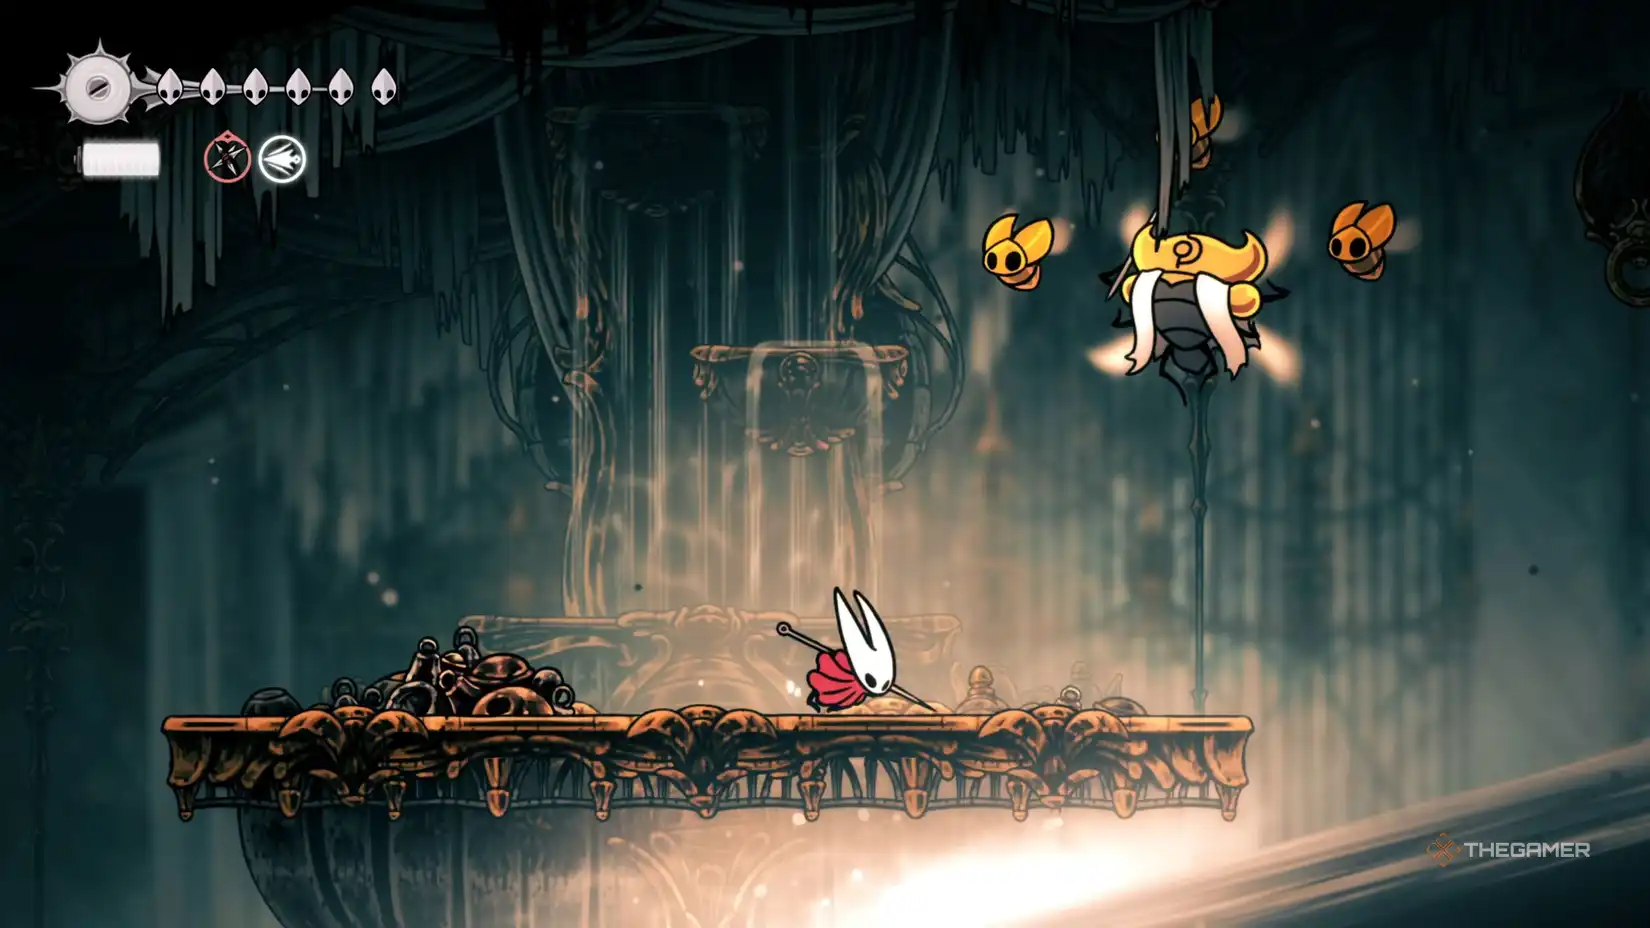
- High Halls: A smaller region in the Citadel's northwest, featuring spike-laden sections and the Conductor's Melody.
- Cogwork Core: A challenging platforming area focused on scaling, containing the Architect's Melody.
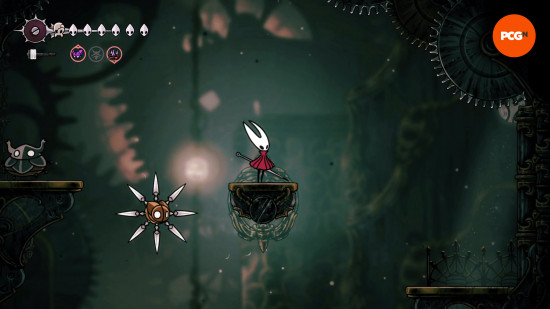
- The Cradle: The culmination of Act 2, where the final boss of the act, the Premier, is confronted.
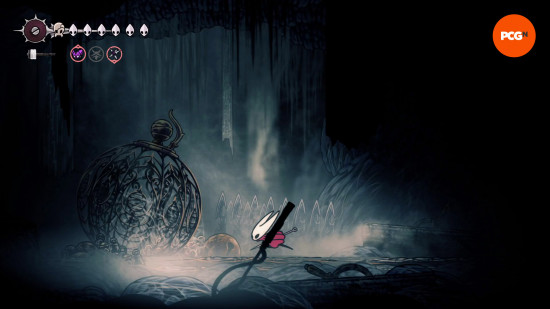
- Bilewater: A notoriously unpleasant region, home to the boss Groal, who guards the Seeker Soul. Requires the Apostate's Key for further access.
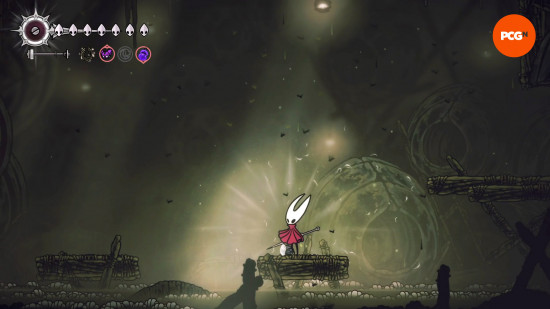
- Weavenests (Atla/Cindril): Accessible via Needolin, these areas offer Crest upgrades and tools like the Snare Setter.
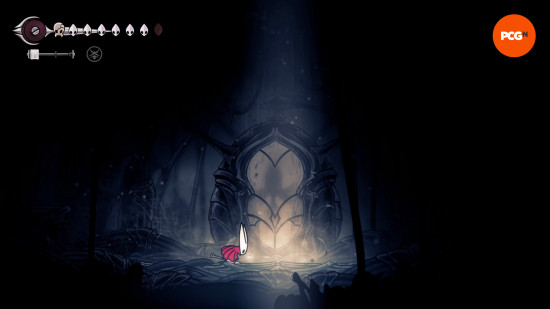
- Sands of Karak: A region with unique traversal mechanics, bosses, and tools, featuring the Coral Tower.
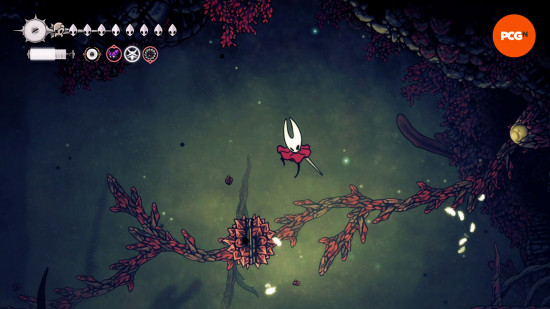
- Memorium & Putrified Ducts: Late-game areas offering important discoveries like the last Lost Flea and Cogheart Piece, leading to the "Paradise" beyond.
- The Abyss & Verdania: Regions explored in Act 3, a transformed version of Pharloom. Verdania, once a lush paradise, is found in ruins.
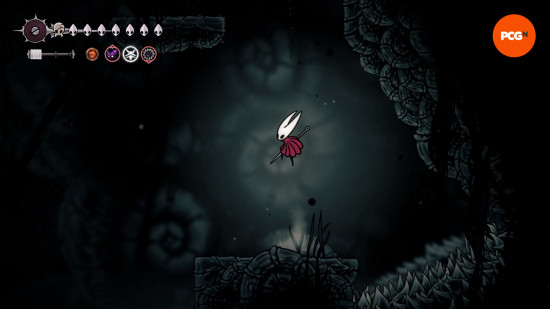
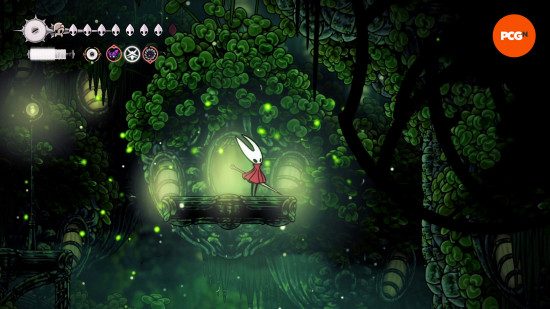
- Hunter's March: An early-game but challenging region known for its platforming and the Savage Beastfly boss in the Chapel of the Beast.
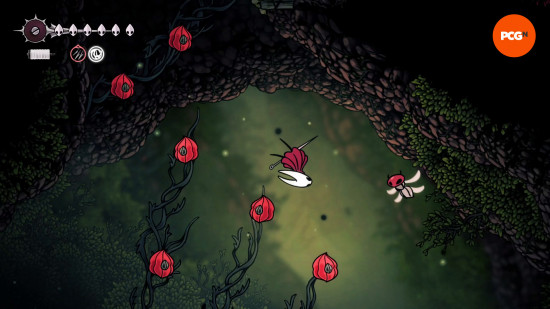
- The Wormways: Claustrophobic passages leading to other major regions.
- The Mist: A confusing area part of an alternate path to Act 2.
- Exhaust Organ: A tiny, steam-filled area with a hard boss, offering a powerful offensive skill.
- The Slab: A maze-like prison requiring the Apostate's Key to unlock.
Pharloom's Inhabitants
Beyond the hostile creatures, Hornet will encounter various non-player characters (NPCs) who offer quests, lore, or assistance.
Garmond and Zaza
These two enigmatic NPCs were first revealed in the Hollow Knight: Silksong announcement trailer. On a quest to find a new home, the rambunctious and chatty Garmond serves as the rider, while Zaza, noted as potentially "the brains," acts as the mount. Their brief appearance in the trailer showcased Hornet leaping over them as they charged through enemies.
Shakra, the Cartographer
Shakra is a vital NPC who serves as Pharloom's navigator and cartographer. She sells maps and mapping tools, and her presence is often heralded by her signature throwing rings and singing. Initially found in The Marrow, Shakra relocates to new areas, offering maps for regions like Mosslands, Deep Docks, Greymoor, and many more, with prices ranging from 40 to 90 Rosaries. Essential purchases include the Quill (to make maps usable), the Compass (to show Hornet's location), and various Pins (Bench, Bellway, Ventrica, Vendor) to mark important spots. After acquiring all her maps, Shakra offers the "Trail's End" wish quest, rewarding Hornet with the Throwing Rings tool. She can always be summoned back to Bone Bottom by interacting with a bell.

Suggested Area Progression
While Pharloom offers multiple paths, an optimized progression route enhances the overall experience.
Act 1: Pharloom's Ascent
Begin in Moss Grotto, then move to The Marrow / Mosshome to acquire the Silkspear and unlock fast travel via the Bell Beast. A worthwhile detour through The Wormways leads to the Chapel Of The Wanderer for the Wanderer Crest. Subsequent areas include Deep Docks (upper half), Far Fields, and the challenging Hunter's March. Further exploration of The Wormways opens the path to Shellwood and Bellhart. Alternatively, Greymoor can be tackled earlier. The act culminates with a choice of paths to Act 2: either through Blasted Steps (leading to the Last Judge boss) or Sinner's Road (leading to the Phantom boss).
Act 2: Citadel of Song's Secrets
Act 2 typically starts with a thorough exploration of the Choral Chambers. Prioritize visiting the Whiteward to reach the Cauldron in the Underworks to obtain the crucial Clawline ability. Next, gather two parts of the Threefold Melody in Cogwork Core and Whispering Vaults. Scale Mount Fay to acquire the Faydown Cloak and double-jump, then revisit older regions for new access points and quests. Continue through Wisp Thicket, Bilewater, The Slab, and Sands Of Karak before securing the final melody in High Halls. Conclude Act 2 by exploring Memorium and the Putrified Ducts before ascending to The Cradle for the act's final confrontation and to unlock Act 3.
Act 3: The Abyss and Beyond
Act 3 transforms Pharloom, beginning with The Abyss. This phase involves re-exploring regions with new abilities like Silk Soar and Elegy Of The Deep, and ultimately leads to Verdania, a once-great kingdom now in ruins.
Hollow Knight: Silksong promises an intricate world demanding exploration, combat prowess, and keen navigation. With Hornet's diverse abilities and a kingdom as vast and mysterious as Pharloom, players are in for an unforgettable adventure.