Hunter's March: A Comprehensive Guide to Silksong's Perilous Passage
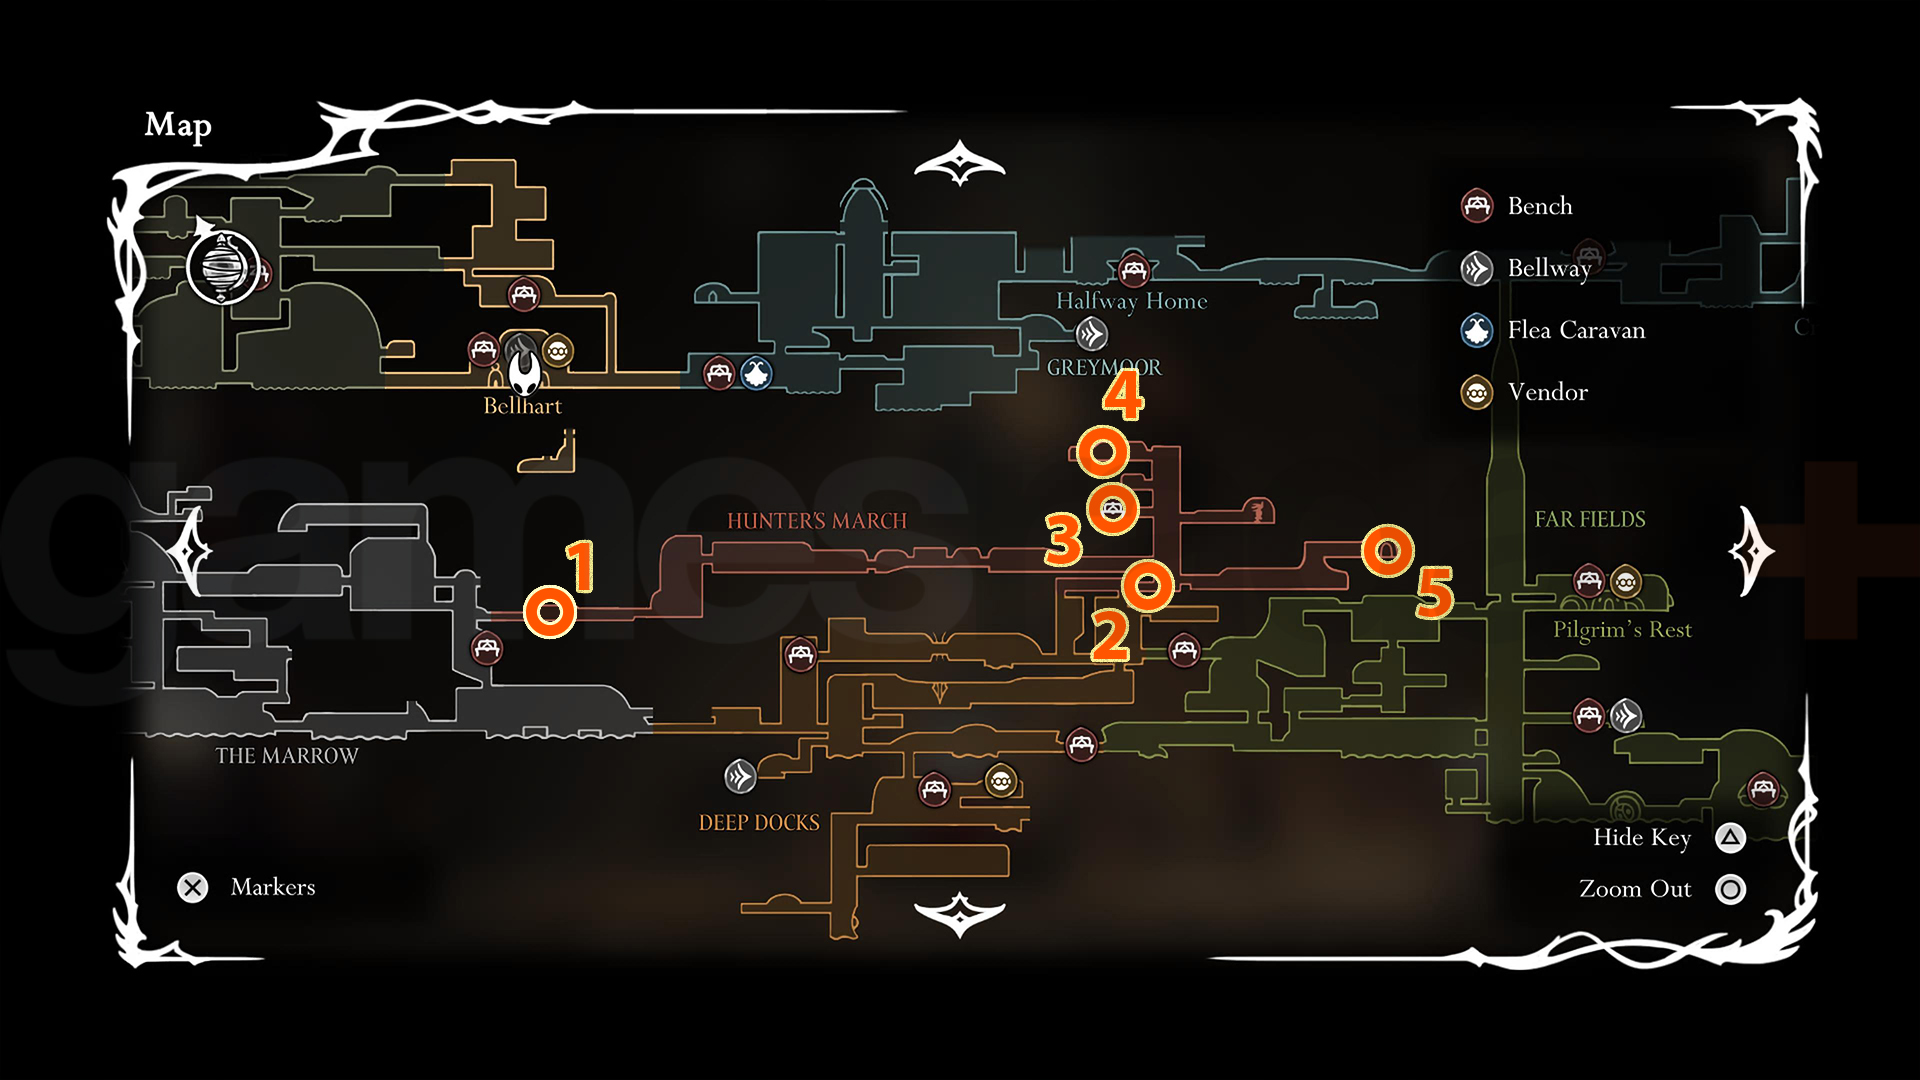
Hunter's March stands as a formidable, semi-optional region in Hollow Knight: Silksong, nestled above The Marrow and Deep Docks. It's renowned for its unwelcoming terrain, replete with treacherous spikes, cunning traps, and a relentless host of powerful ant enemies from the Skarr tribe. While challenging, traversing Hunter's March offers significant rewards, including valuable tools, rare items, and one of the game's most powerful Crests. This guide provides an in-depth walkthrough, strategies for its demanding bosses, and details on all key objectives and hidden secrets.
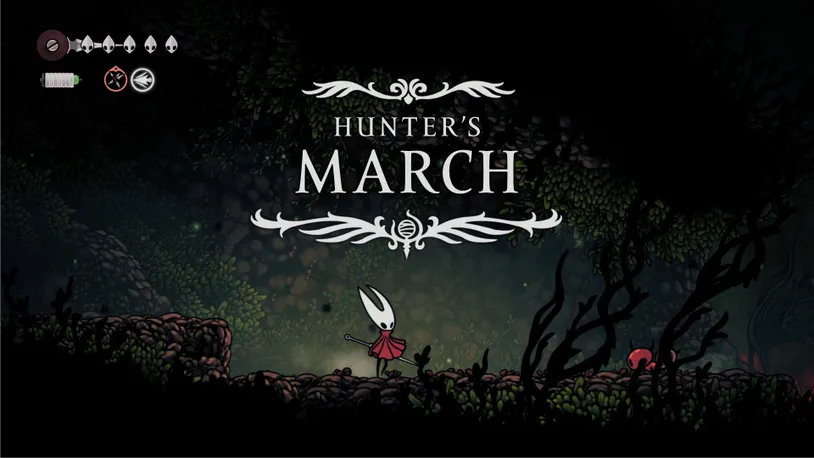
Navigating the Hunter's March: An Overview
This area is one of two primary routes to The Citadel, presenting a considerably harder path than its alternative, Greymoor. Mastering Pogo-ing off enemies and surfaces is crucial for survival and progression. Full exploration also requires Hornet to possess the Cling Grip and Drifter's Cloak abilities, obtained in earlier stages of her journey through Pharloom. Despite its difficulty, the rewards—such as the transformative Beast Crest, Rosaries, Shell Shards, Memory Lockets, and unique Tools—make the endeavor worthwhile for those seeking to enhance Hornet's capabilities and complete their Bestiary.

Accessing Hunter's March
The most straightforward entry into Hunter's March is from The Marrow. Head to the middle-eastern corner of The Marrow, specifically the eastern exit located above the prison area, to find the initial opening. While a path connects to the Deep Docks, it's typically unlocked as a shortcut later, making The Marrow the primary starting point.
Key Objectives and Walkthrough Highlights
Successfully navigating Hunter's March involves a series of critical encounters and discoveries:
- Defeat the Skarrgard: Overcome the formidable guardian blocking the entrance.
- Free the Lost Flea: Locate and release this important collectible for a side quest.
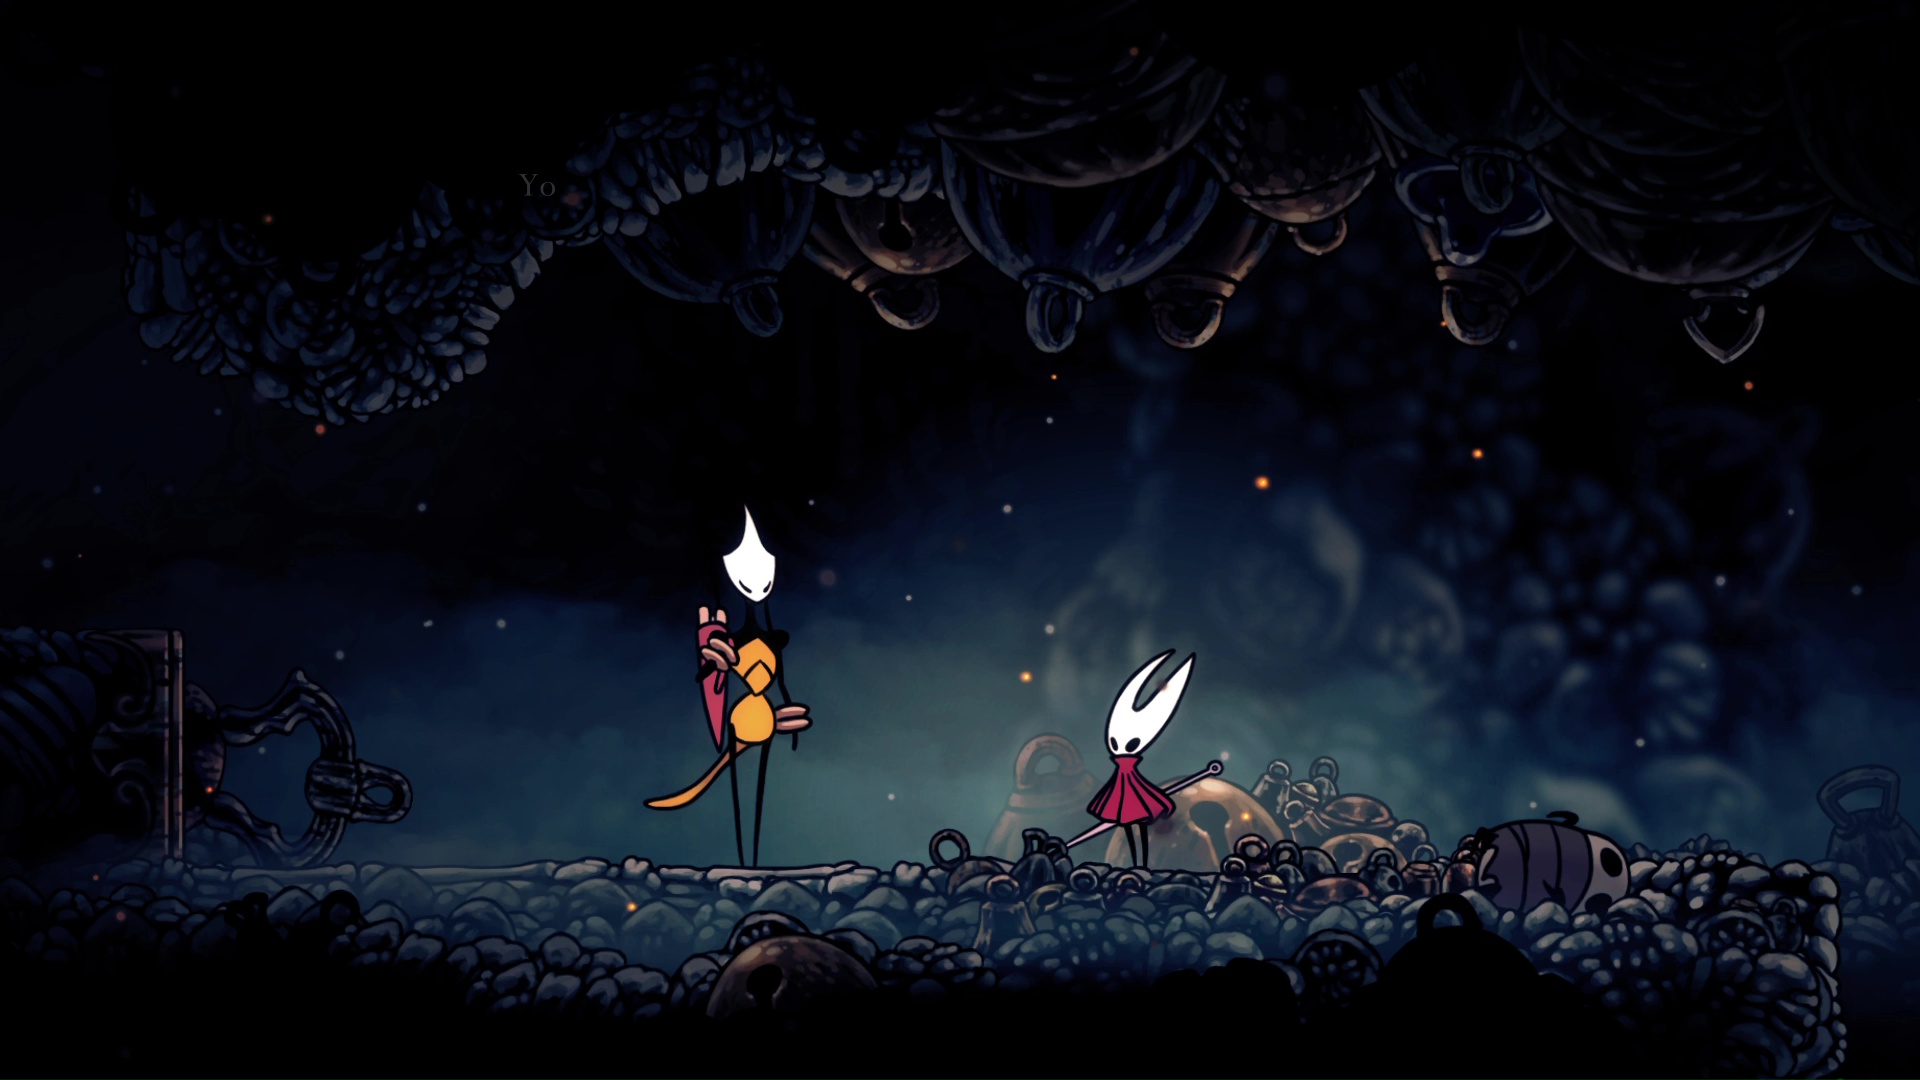
- Find Shakra and Purchase the Map: Acquire essential cartographic guidance for the region.
- Unlock the Bench: Deactivate the trap on the area's save point.
- Meet Gilly: Discover a unique NPC who plays a role in future quests.
- Find Mottled Skarr: Unearth a hidden merchant offering powerful tools.
- Engage the Second Skarrgard: An optional, but rewarding, combat challenge.
- Obtain the Memory Locket: Expand Hornet's Tool slots.
- Reach the Chapel of the Beast: Brave the final challenging segment of the area.
- Defeat the Savage Beastfly: Conquer the region's main boss to claim the Beast Crest.
- Unlock Shortcuts: Establish convenient passages to Deep Docks and Far Fields.
Confronting the Hunter's Gatekeeper: The Skarrgard
Before truly entering Hunter's March, you'll encounter a large ant warrior, often referred to as the Skull Ant or Skarrgard, positioned at the far northeastern corner of The Marrow. This mini-boss is highly aggressive, deals significant damage, and acts as a skill gate, subtly encouraging players to acquire the Dash ability for improved mobility.

Skarrgard's Attack Patterns:
- Two-hit Sweeping Attack: A wide-ranging melee combo.
- Leaping Attack: An even further-reaching jump. Attempting to outrun this early on is often futile.
Strategies for Success:
- Early Game (Without Dash): Your best bet is to bait a short-range jump and quickly dash underneath the Skarrgard to the other side. A tactical retreat into the narrow tunnel you used to enter the arena can negate its jumping attacks, allowing you to chip away at its health between its sweeping attacks. Consider using an offensive tool found in the prison below the boss room for ranged damage.
- With Dash Ability: The fight becomes considerably easier. You can confidently Dash in for a strike and then Dash out before it retaliates. In open spaces, watch its movements: if it jumps, Dash under it for hits upon landing, or Dash backward to avoid the attack entirely. The Swift Step ability and equipping the Wanderer Crest (for faster attacks) can also significantly improve your combat flow.
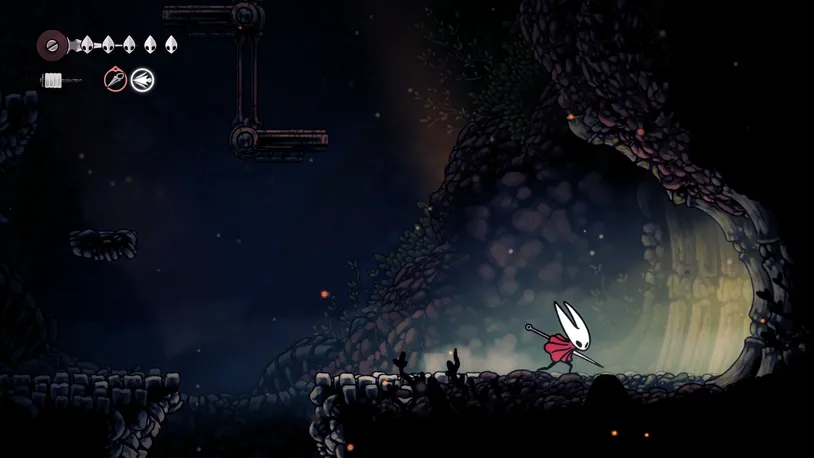
Defeating the Skarrgard grants you full access to Hunter's March and often provides additional Shell Shards.
Early Exploration and Essential Acquisitions
Upon entering Hunter's March, your initial tasks involve gathering crucial items and mapping your surroundings.
Locating the Lost Flea
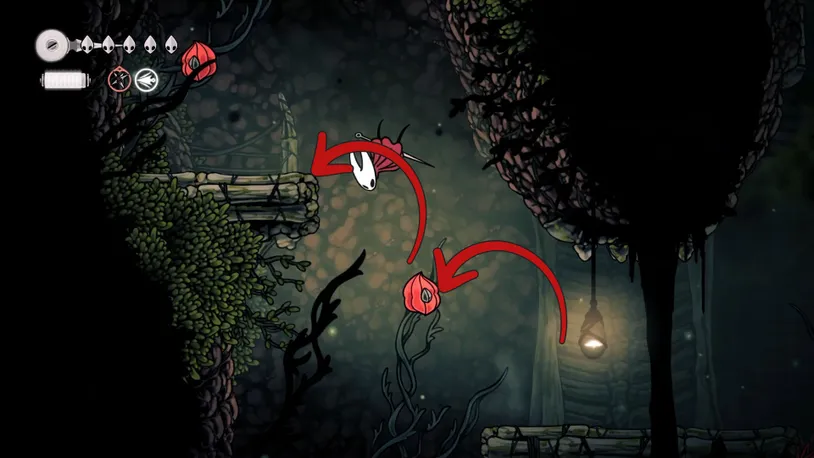
One of the first collectibles, a Lost Flea, can be found early on. After defeating the initial Skarrgard, proceed east. You'll encounter red bud flowers; use them to propel Hornet upwards. Continue Pogo-ing off these buds and climbing ledges, evading or defeating flying ants, until you reach a platform leading left, then right again. Here, you'll find the Lost Flea captive in a cage. Break it to release the flea and register it for its caravan quest.
Shakra and the Hunter's March Map
Shakra, the indispensable map-maker, is located towards the western side of the core Hunter's March area. You'll likely encounter her after navigating a "gauntlet" fight involving successive waves of ant enemies. Shakra may even assist you in this battle.
Items for Sale:
- Hunter's March Map: 70 Rosary Beads (Priority purchase for navigation).
- Hunt Marker: 60 Rosary Beads (Useful for marking important locations).
Acquiring the map from Shakra is highly recommended to better orient yourself within this complex region.
The Trapped Bench
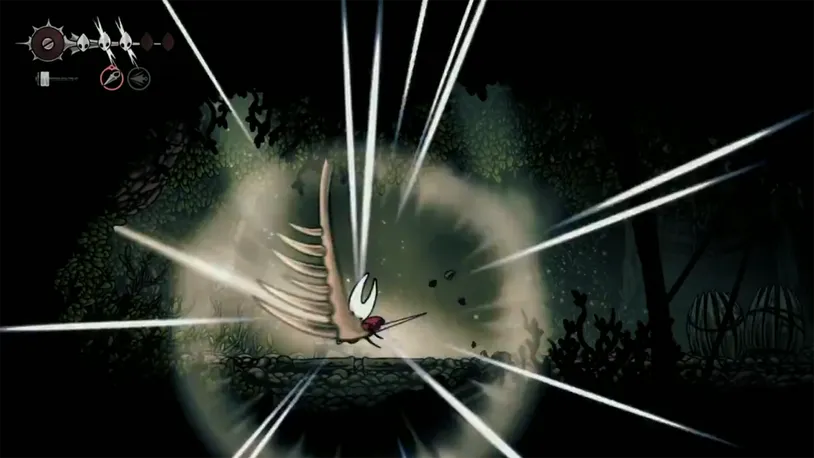
A much-needed save point, the Hunter's March bench, is located about halfway up the main vertical shaft in the area. However, it's booby-trapped: attempting to rest without deactivating it will trigger a giant axe to swing down, potentially causing significant damage or even defeating a low-health Hornet.
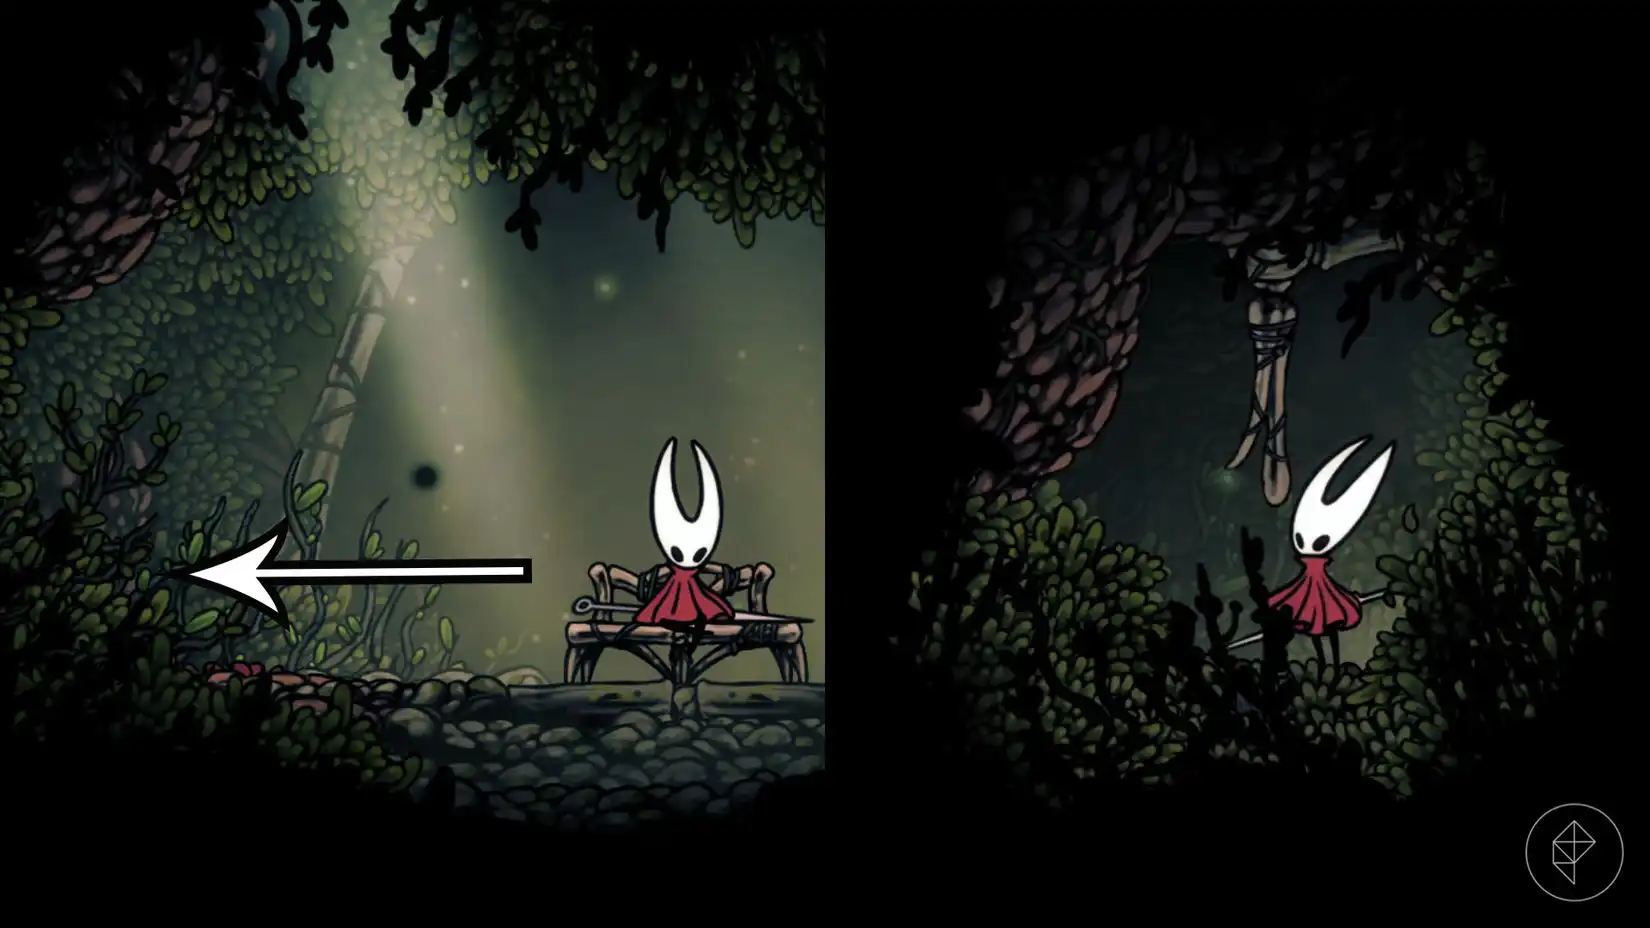
How to Deactivate the Trap: To use the bench safely, head through a hidden room located to the left of the bench itself. Inside, you'll find a lever. Strike the lever with your needle to deactivate the trap, allowing you to rest, heal, and save your progress without incident.
Uncovering Hunter's March Secrets and Merchants
Beyond the main path, Hunter's March holds secretive encounters and valuable items.
Meeting Gilly
Near the trapped bench, on the opposite side of the vertical shaft, you'll find a room containing a statue of a dancing figure and a subtly shuffling bush. Attack the bush to reveal Gilly, an NPC who will engage you in conversation about the statue and the region. Gilly plays an important role in a side quest later in the game.

Mottled Skarr, the Hidden Merchant
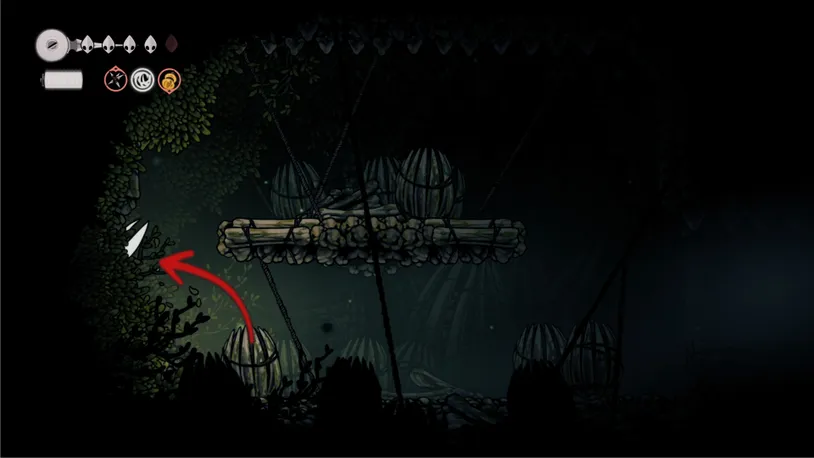
A secretive merchant named Mottled Skarr can be found within a well-hidden passage. From Gilly's location, ride the air current higher up the vertical shaft and enter the room to your left. While it appears to be a small room with Shell Shards, a secret corridor lies within the leftmost wall's shrubbery. This passage is filled with parkour elements and pressure plate traps. Navigate it to the end to find Mottled Skarr.
Items for Sale:
- Curveclaw: 140 Rosary Beads (A boomerang-like ranged attack tool, effective against flying enemies).
- Fractured Mask: 260 Rosary Beads (A unique tool that protects Hornet from one lethal hit per rest).
While potentially expensive early on, the Fractured Mask is a powerful defensive tool worth acquiring.
The Second Skarrgard Encounter
An optional, yet challenging, encounter awaits at the very top of Hunter's March. To reach it, you'll need the Cling Grip ability to scale the left wall from Mottled Skarr's location. This time, you'll face a Skarrgard accompanied by a supporting flying ant minion. Defeating them yields a significant amount of Rosaries and Shell Shards, and completes the Skarrgard's entry in your Bestiary.

Memory Locket
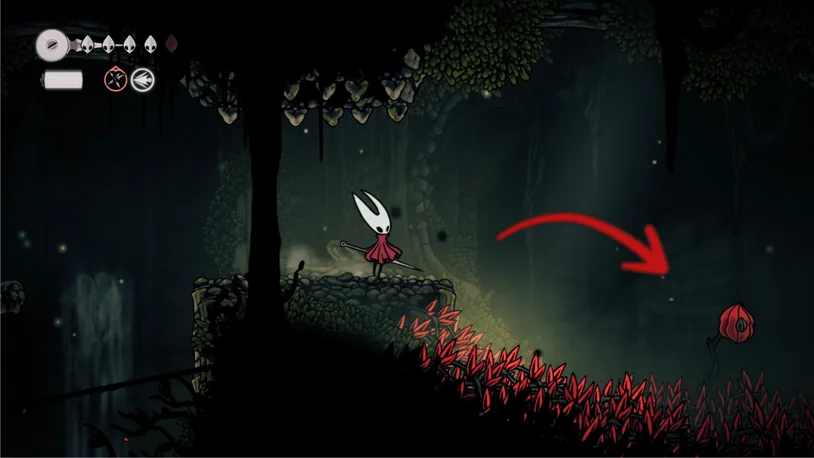
After revisiting Shakra's location and continuing further right past more red buds, you'll find a glowing indicator within a hanging cage at the far right. Destroy the cage to retrieve a Memory Locket, which can be used to unlock new Tool slots on a Crest of your choice.
The Chapel of the Beast and the Savage Beastfly
The ultimate challenge and reward of Hunter's March lie within the Chapel of the Beast.
Reaching the Chapel
From where you found the Memory Locket, a wind current blows upwards to the right. The Drifter's Cloak is essential here to glide upwards and navigate the aerial obstacles. The journey to the Chapel is a platforming challenge, demanding precise jumps and glides over spikes and between walls, often utilizing red buds for additional height. You'll notice the screen shaking increasingly as you approach, indicating the presence of the powerful boss within.
Savage Beastfly Boss Guide
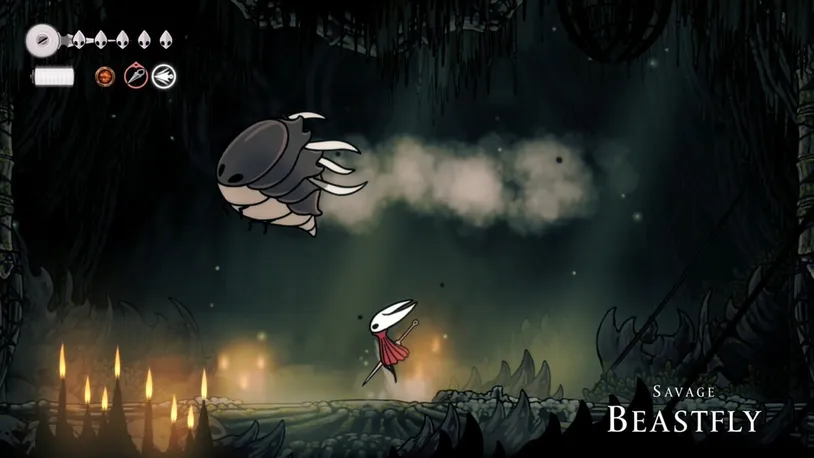
The Savage Beastfly is a formidable opponent with considerable health and aggressive attack patterns. It is the final test of Hunter's March.
Savage Beastfly's Attack Patterns:
- Charges: The Beastfly charges across the room, with its trajectory adapting to Hornet's position. Be careful not to jump too early, as it sometimes tracks movement before committing.
- Body Slam: Occurs when the Beastfly flies directly above Hornet, slamming down up to three times consecutively.
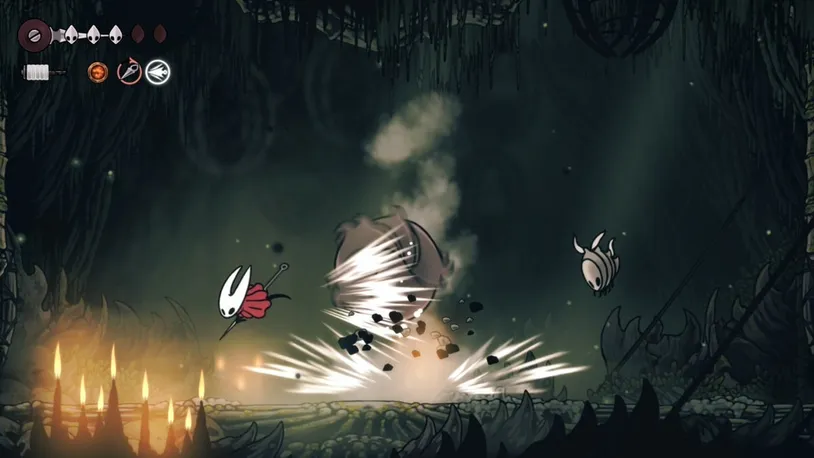
- Minion Summoning: The most dangerous phase, where the Beastfly summons additional enemies like Kilik (launching spikes) and Vicious Caranids, which can quickly overwhelm the arena.
Strategies for Success:
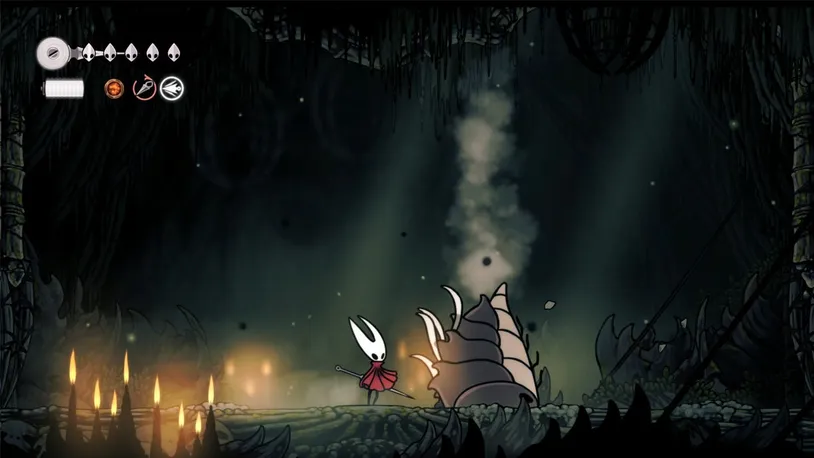
- Dash and Strike: Use your Dash ability to quickly close distances for hits after avoiding its charges, or to evade its body slams. Position yourself to the side during its body slam attacks to get in safe hits as it lands. You can also heal safely during this window.
- Prioritize Minions: When the Beastfly summons reinforcements, make eliminating them your top priority to prevent the screen from becoming too crowded.
- Environmental Advantage: The Beastfly's own body slam attack will damage and instantly kill any minions it hits. Use this to your advantage by positioning yourself so that the Beastfly slams onto its summoned allies.
- Crest Recommendation: The Wanderer Crest is highly recommended for its quick attacks, allowing you to maintain pressure and land retaliatory strikes during narrow openings.
- Constant Movement: Keep moving throughout the fight to avoid charges and maintain space. Save any offensive Tools for the final, most challenging wave.
The Ultimate Reward: The Beast Crest
Upon defeating the Savage Beastfly, a new room will open to the left. Here, you will find and Bind with the giant bug shell to obtain the Beast Crest. This powerful Crest significantly alters Hornet's combat style, granting her a new melee attack—a short-range arcing swipe—and transforming her Bind into a temporary lifesteal ability. Take a moment to adjust to this new rolling mid-air downward attack, as it can feel quite different.
Expanding Your Reach: Hunter's March Shortcuts
After completing the main objectives in Hunter's March, two valuable shortcuts become available, improving traversal across Pharloom.
Shortcut to Deep Docks
Return to the bottom of the main vertical shaft in Hunter's March. In the room to the left, you'll find a switch. Activating this switch opens a direct passage back into the upper reaches of the Deep Docks, providing a convenient fast-travel option between the two regions.
Shortcut to Far Fields
From Gilly's initial location (near the dancing statue), use the Ancestral Art Silk Soar ability directly above the statue. This will open a secret corridor leading to the Far Fields. This shortcut is particularly useful, especially in Act 3, for accessing the upper-right section of Far Fields to confront Skarrsinger Karmelita.
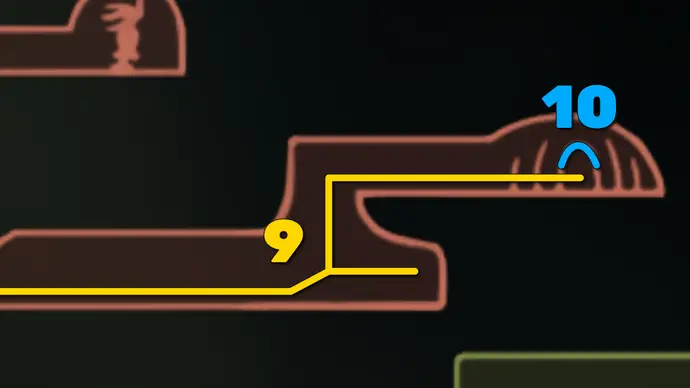
Recommended Abilities for Hunter's March
To conquer the challenges within Hunter's March, ensure Hornet has acquired and is proficient with the following abilities:
- Pogo-ing: Essential for navigating spike-filled areas and reaching higher platforms by bouncing off enemies and environmental objects.
- Dash: Crucial for evasive maneuvers and effective combat against fast-moving enemies and bosses like the Skarrgard.
- Drifter's Cloak: Required for gliding, accessing the Chapel of the Beast, and reaching high, spread-apart platforms.
- Cling Grip: Necessary for scaling specific walls to reach higher areas, particularly for the second Skarrgard encounter.
- Swift Step: Enhances mobility and attack speed, making boss fights more manageable.
- Wanderer Crest: Improves attack speed, offering an advantage in high-pressure combat scenarios.
- Ancestral Art Silk Soar: Required to unlock the shortcut to Far Fields.
By utilizing these skills and following this comprehensive guide, you'll be well-equipped to brave the dangers and reap the substantial rewards that Hunter's March has to offer in Hollow Knight: Silksong.