Moorwing Boss Guide: Defeat, Skip, or Cheese in Silksong
Mastering the Moorwing Boss in Hollow Knight: Silksong
The Moorwing, a formidable winged mite-beast, stands as a significant challenge for many players traversing the perilous lands of Greymoor in Hollow Knight: Silksong. Known for its aggressive patterns and high damage output, this optional boss has earned a reputation as one of Act 1's most demanding encounters. Whether you seek to conquer it through skill, bypass the fight entirely, or leverage a clever exploit, this guide provides all the necessary information to navigate the Moorwing encounter.

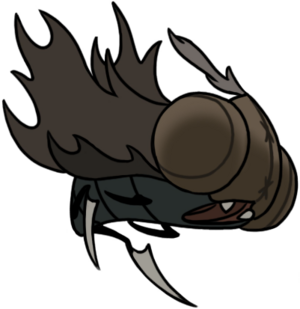
Where to Find Moorwing
The Moorwing typically acts as a guardian, blocking the pathway to Bellhart, a cursed town within the expansive Greymoor region.
Initial Encounter Location
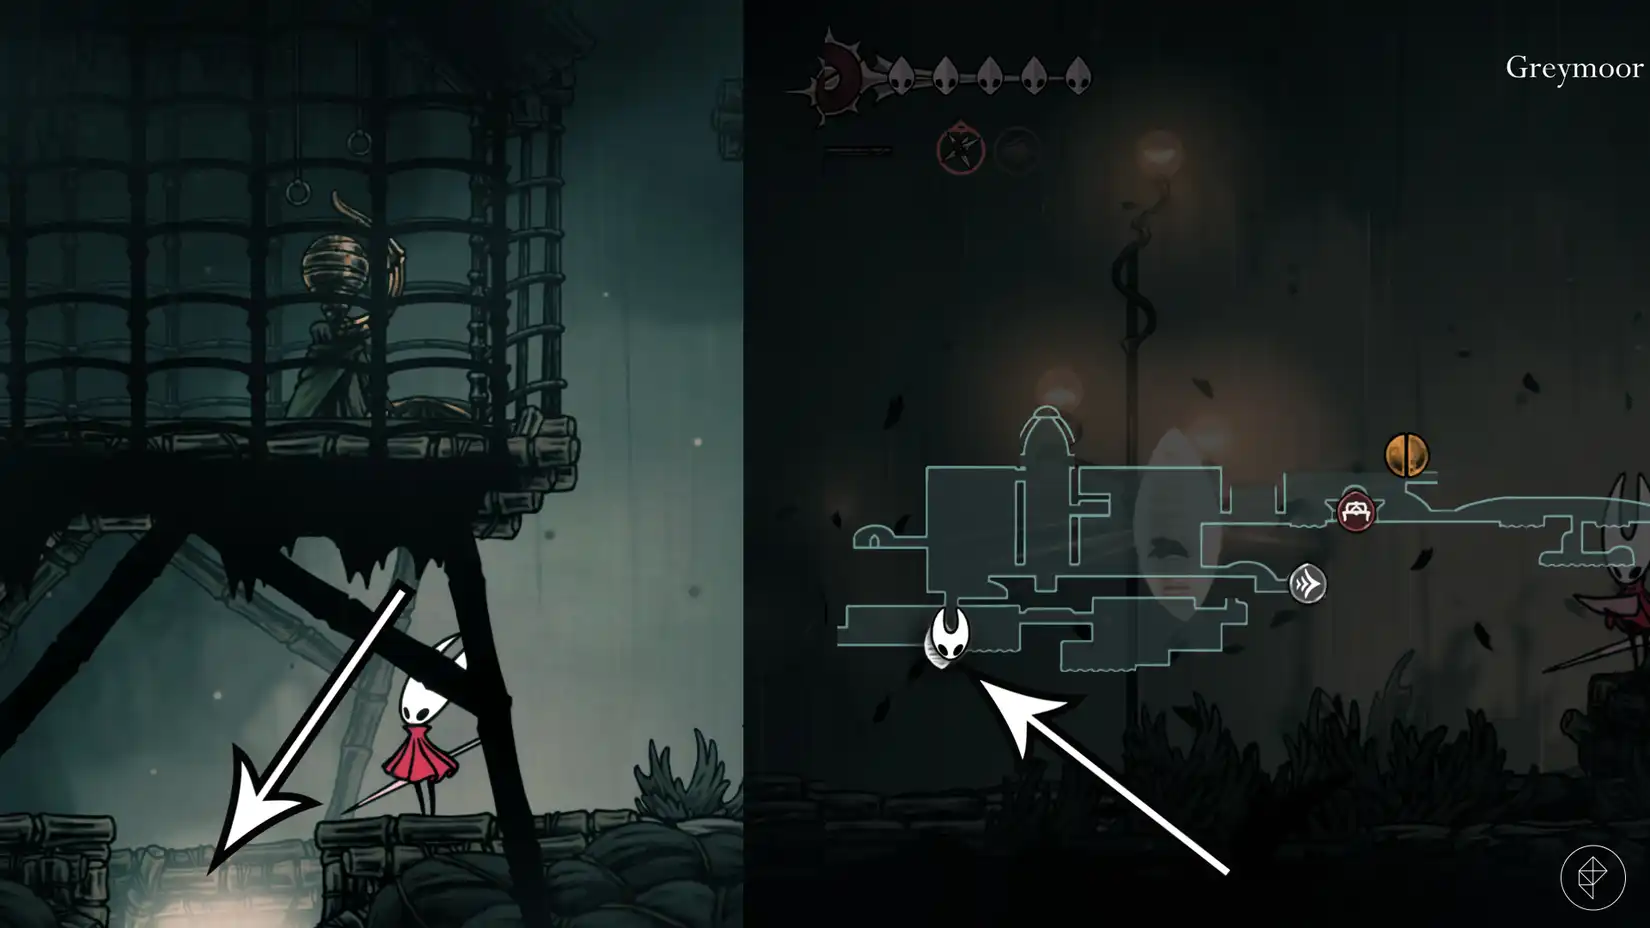
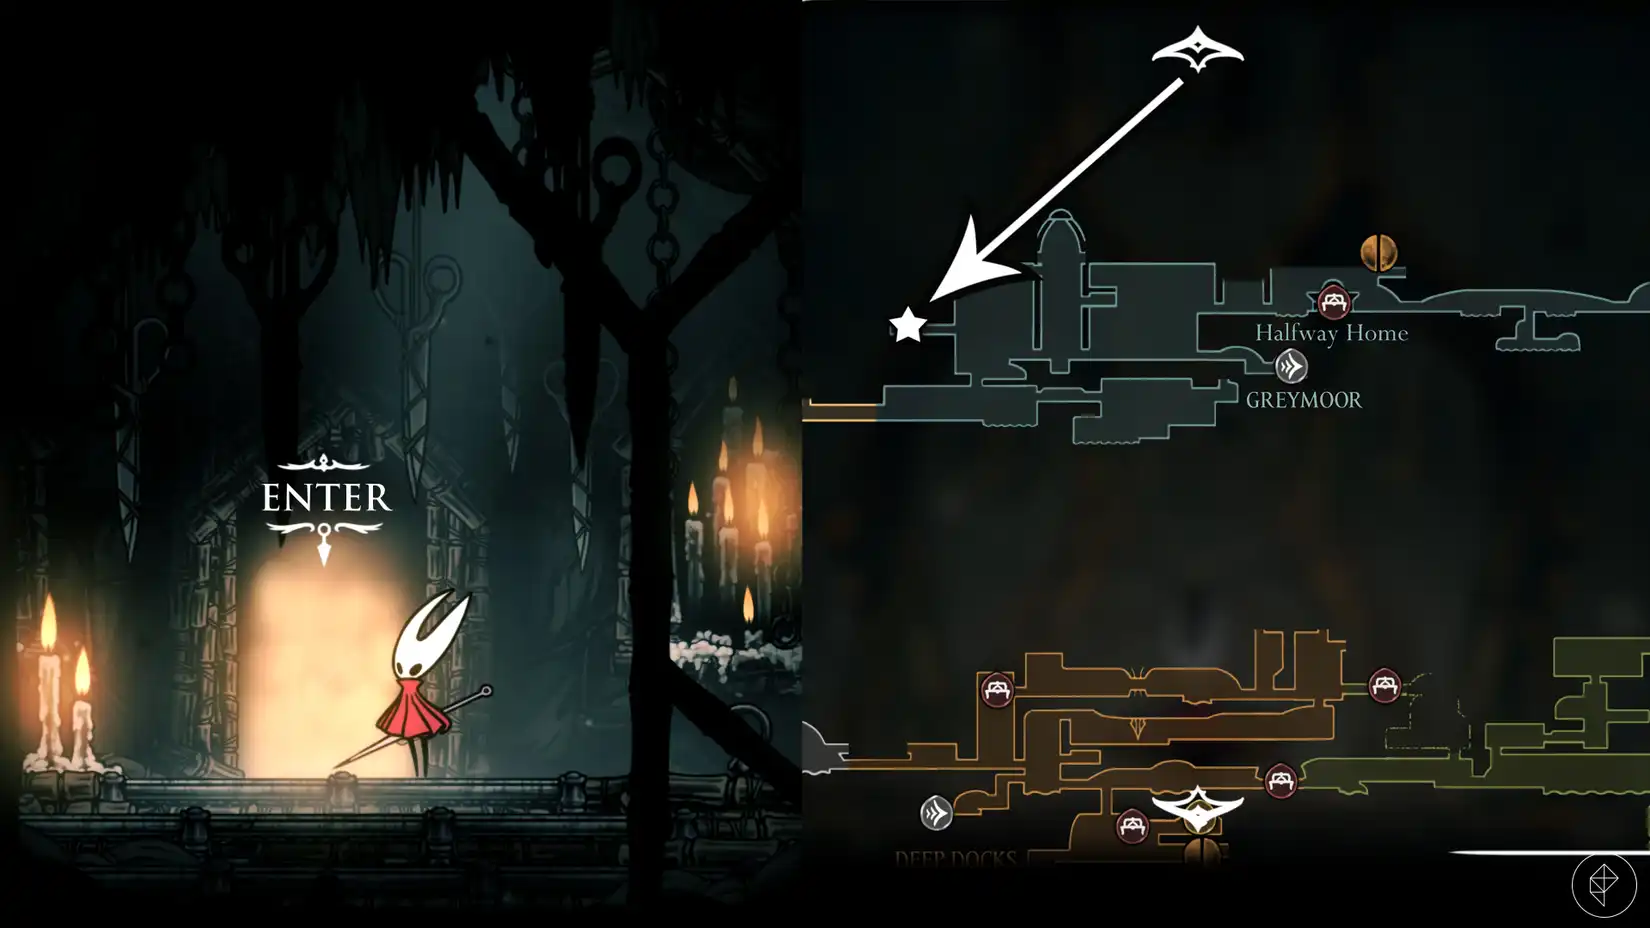
You'll generally find the Moorwing at the western edge of Greymoor, specifically near the border of Bellhart. After venturing through the Far Fields and entering Greymoor via a large vertical chamber, proceed westward past the Halfway Home (where you'll find the closest resting bench to the arena) and an area featuring platforms suspended by thick chains. Drop into the opening on the left side and continue left to initiate the encounter. Some reports suggest it's initially spotted three rooms west of the Greymoor Bellway, flying in the background.
Moorwing's Reappearance
Should you bypass the initial Moorwing fight, it is not permanently gone. It can reappear in later acts of the game. If skipped, expect to encounter a non-optional Moorwing fight in Act 2, located northeast of its typical arena, near the Greymoor Bellway. Furthermore, if this subsequent encounter is in Act 3, the Moorwing will be corrupted by Void, presenting an even greater challenge.
How to Skip the Moorwing Fight Entirely
For those who prefer to avoid this notoriously difficult boss, Silksong offers two distinct methods to circumvent the battle without consequence, especially since defeating it yields no substantial rewards beyond a Beast Shard and a Hunter's Journal entry.
The Flea Caravan Method
This widely known bypass involves aiding the Lost Fleas. By collecting five Lost Fleas and returning them to the Flea Caravan, you can accept their offer to travel to Greymoor. The caravan will then set up camp directly in Moorwing's usual battle arena, effectively scaring the creature off. Interestingly, if you skip the fight this way, Moorwing's tied-up corpse can later be observed on one of the caravan's vehicles, eventually being roasted at their festival in Fleatopia.

The Wormways Bypass
Another method involves taking an alternative route into Bellhart. By utilizing a Simple Key on a locked door located above Bone Bottom (or in the top-right Moss Grotto), you can enter Bellhart via the Wormways and open the path from the other side. This approach allows you to completely bypass the Moorwing encounter guarding the eastern entrance.
Comprehensive Combat Strategy Against Moorwing
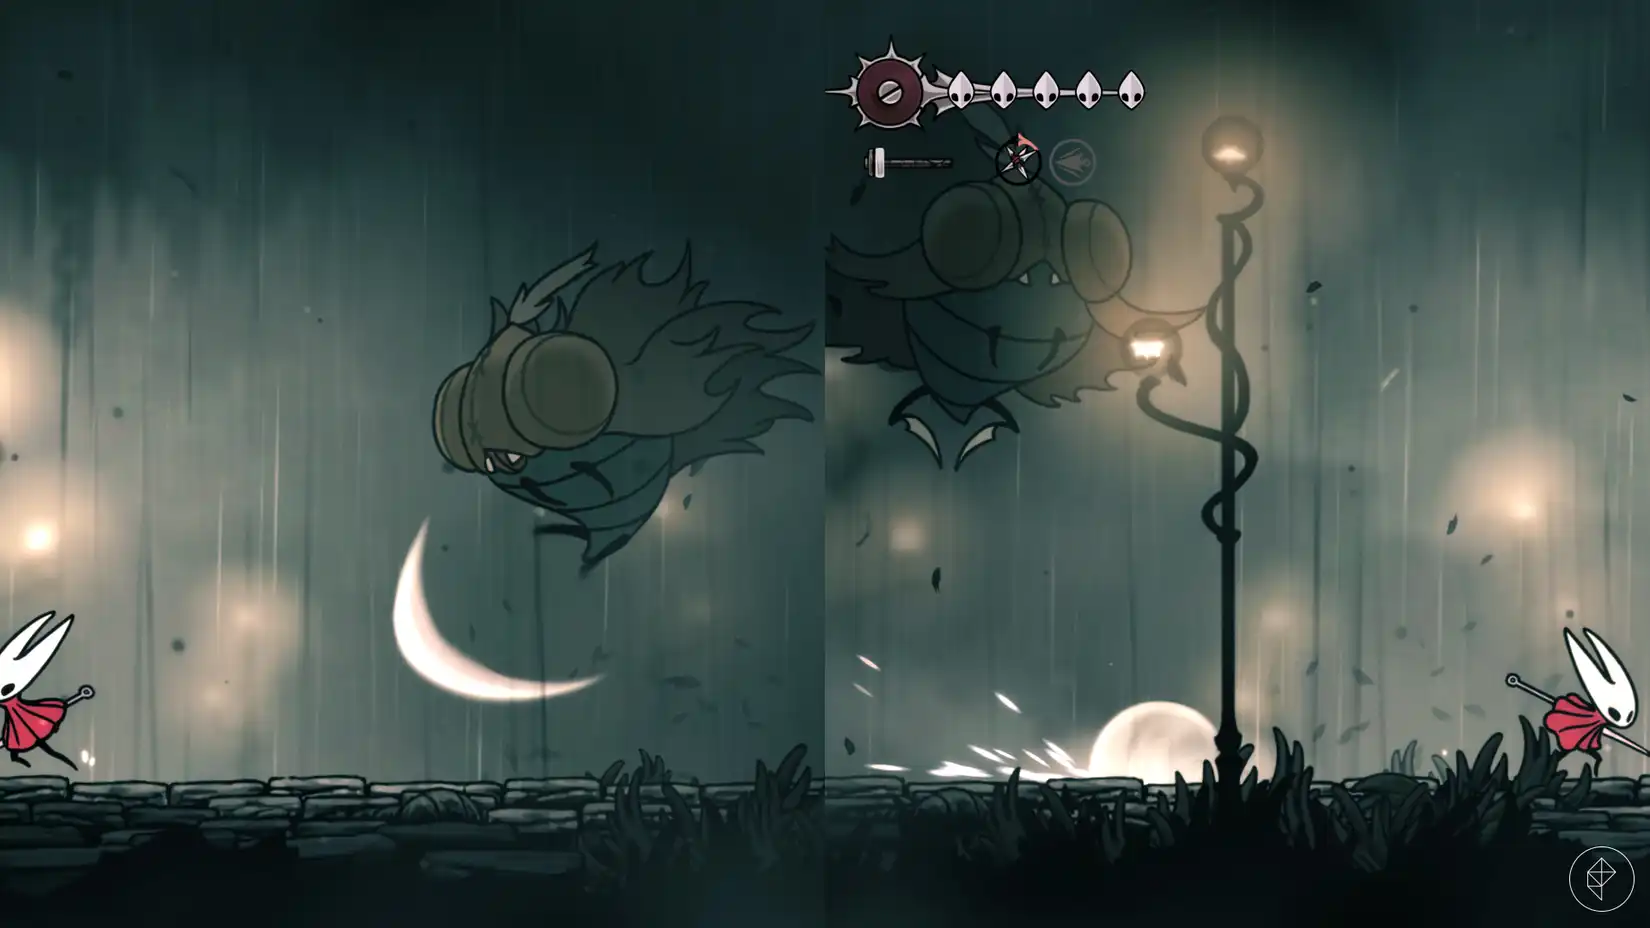
Moorwing is a multi-phase boss with a range of challenging attacks. Players consistently note frustration with its contact damage, which deals two masks of health, even when the boss is stunned. Hornet is not locked into the arena, allowing for escape if necessary.
General Tips for Survival
- Stay Close: Moorwing is often easiest to manage by staying directly beneath or very close to its face, striking constantly.
- Pogo Attacks: Employing pogo attacks (downward slashes while jumping on the boss) can negate much of the difficulty associated with dodging its projectiles and ground attacks.
- Healing Opportunities: The best times to heal are generally during Moorwing's multi-slash attack sequences or immediately after successfully dodging its side dive.
- Optimal Tools: The Straight Pins or String Shards can be effective due to Moorwing's frequent diving. The Crest of the Reaper is highly recommended for its extended attack range and increased Silk gain, allowing for more frequent healing or powerful Silkspear attacks.
Moorwing's Attack Phases and Counters
Moorwing's moveset evolves across its phases, demanding adaptability.
Phase 1 Attacks
Moorwing floats above the ground and employs three primary attacks:
- Swoop/Charge: Moorwing swoops down directly at Hornet, traveling a short distance across the ground before rising. If Hornet is distant, it will continue along the ground to catch up.
- Counter: Leap over the attack. If possible, perform a downward slash attack (pogo) while jumping over it to inflict damage.
- Quick Swipes/Melee Attack: The boss screeches, moves slightly forward, and unleashes a flurry of diagonal slashing attacks with its legs aimed towards Hornet.
- Counter: Quickly move or dash out of the attack's trajectory. This attack also presents an opportunity to jump and hit Moorwing's front for damage.
- Blade Toss/Disc Throw: Moorwing throws a single spinning blade that travels along the ground for a distance before arcing into the air.
- Counter: Jump over the projectile, being mindful of its tendency to curve back towards you. Low projectiles require a jump, while high projectiles might necessitate a dash.
Phase 2 Attacks
Upon reaching approximately 390 HP, Moorwing will screech and gain new abilities while augmenting existing ones:
- Inverted Blade Toss/Reverse Discs: Moorwing roars and flips upside down, launching spinning blades in both directions. These blades arc downwards, converge in the middle, cross paths, and then travel to the arena's edges.
- Counter: Staying beneath the boss allows you to avoid these by only jumping once.
- Augmented Swoop: After completing a swoop attack, Moorwing immediately follows up with a single regular Blade Toss.
- Counter: Be prepared to jump over the follow-up projectile immediately after dodging the swoop.
- Augmented Blade Toss: Instead of one, Moorwing now throws two spinning blades in quick succession. The second blade often performs a large loop, circling back towards Moorwing before disappearing. Moorwing can adjust its aim for the second blade if Hornet moves behind it.
- Counter: Time your jumps carefully for both projectiles.
- Mid-air Swoop: In this phase, Moorwing may also perform a swoop attack where it stays suspended mid-air.
- Counter: Dodge away from its path.
Act 3 Variation: Void-Corrupted Moorwing
If you encounter Moorwing in Act 3 after skipping its initial appearance, it will be infused with Void. This version boasts increased HP and gains a dangerous new attack:
- Void Blades: Moorwing stops in place and swirls Void tendrils in a circular area around itself.
- Counter: Maintain distance when it performs this move to avoid getting caught in the swirling tendrils.
Leveraging Companions: Garmond and Zaza
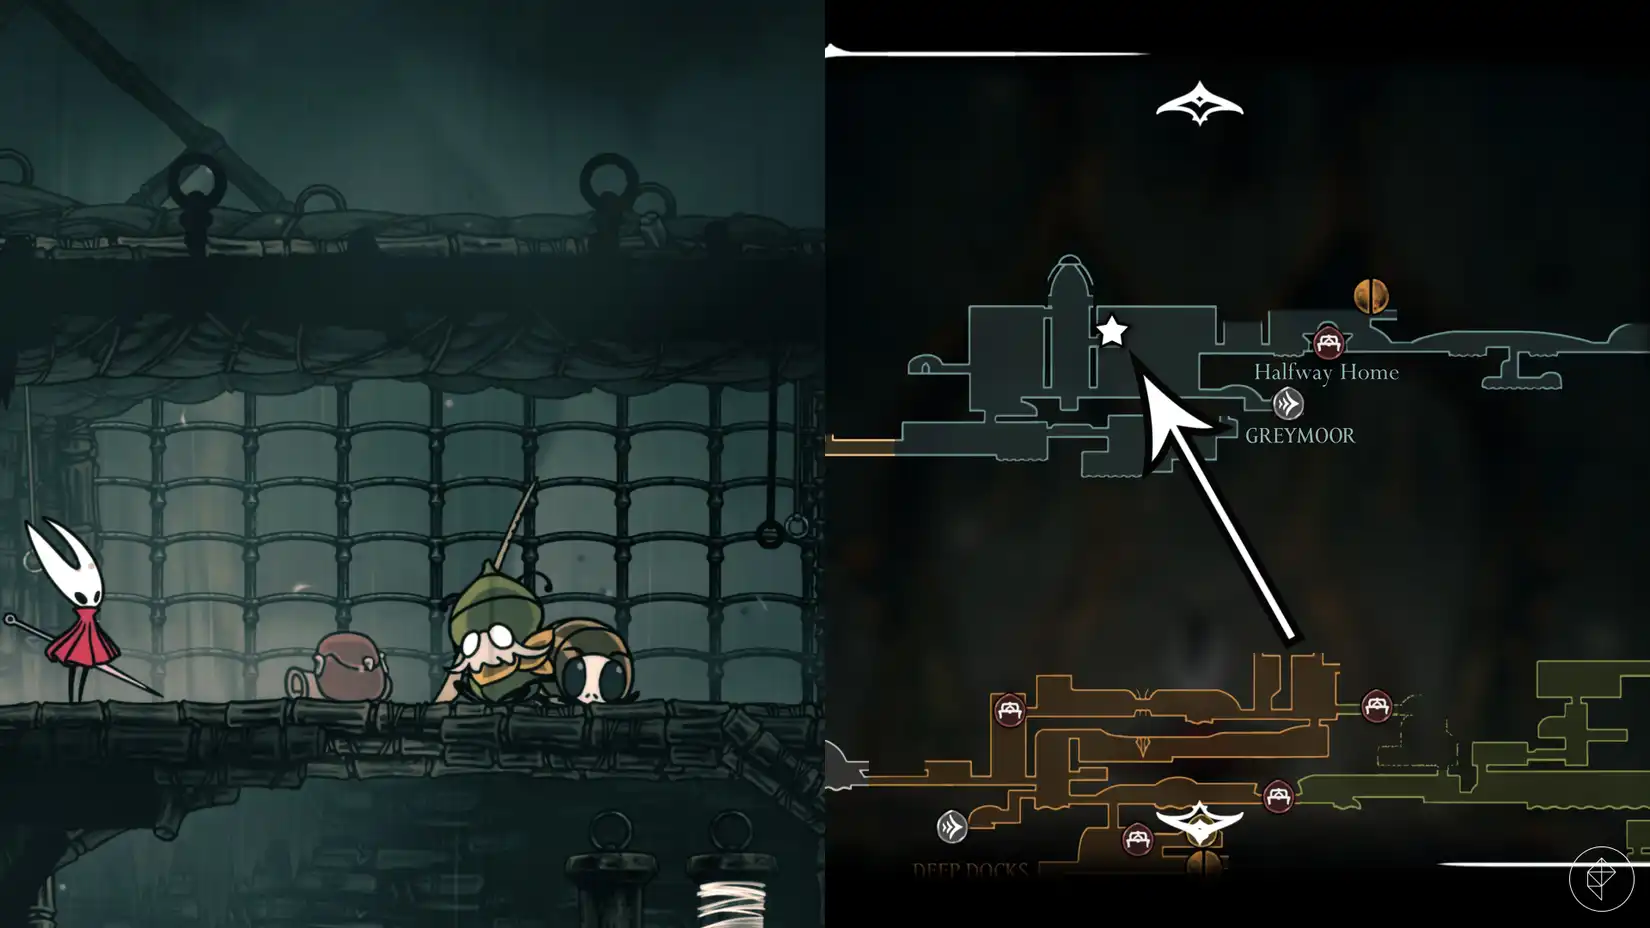
You can recruit two NPCs, Garmond (a mighty warrior) and his steed, Zaza, to assist you in the Moorwing fight. They are initially found in a tall room near the Greymoor boss entrance. To enlist their help:
- Encounter Moorwing once.
- Return to the chamber above Moorwing's arena; Garmond and Zaza should have relocated there.
- Speak with them and accept their offer to join the battle.
They will appear shortly after the fight begins and contribute damage, particularly when Moorwing is stunned. Note that you may need to request their aid each time you restart the game or re-enter the fight.

The "Cheese" Strategy: Defeating Moorwing Safely
For players who are frustrated or simply wish to bypass the direct challenge, a "cheese" method offers a nearly risk-free way to defeat Moorwing.
Preparing for the Exploit
- Crest of the Reaper: This exploit is significantly faster and more effective with the Reaper Crest equipped, due to its extended attack range. While the Wanderer Crest can work, it will prolong the process considerably. You can obtain the Reaper Crest by clearing the Chapel of the Reaper, located north of Moorwing's arena (continue left from Moorwing's path, jump up, past a corrupted pilgrim, and enter the Chapel).
- Garmond and Zaza: While not strictly necessary for the cheese, having Garmond and Zaza recruited will speed up the process, as they will deal damage when Moorwing is stunned.
Executing the Cheese
- Equip the Reaper Crest (and ensure Garmond and Zaza are recruited if desired).
- Enter Moorwing's arena.
- Immediately perform a U-turn and head back towards the right.
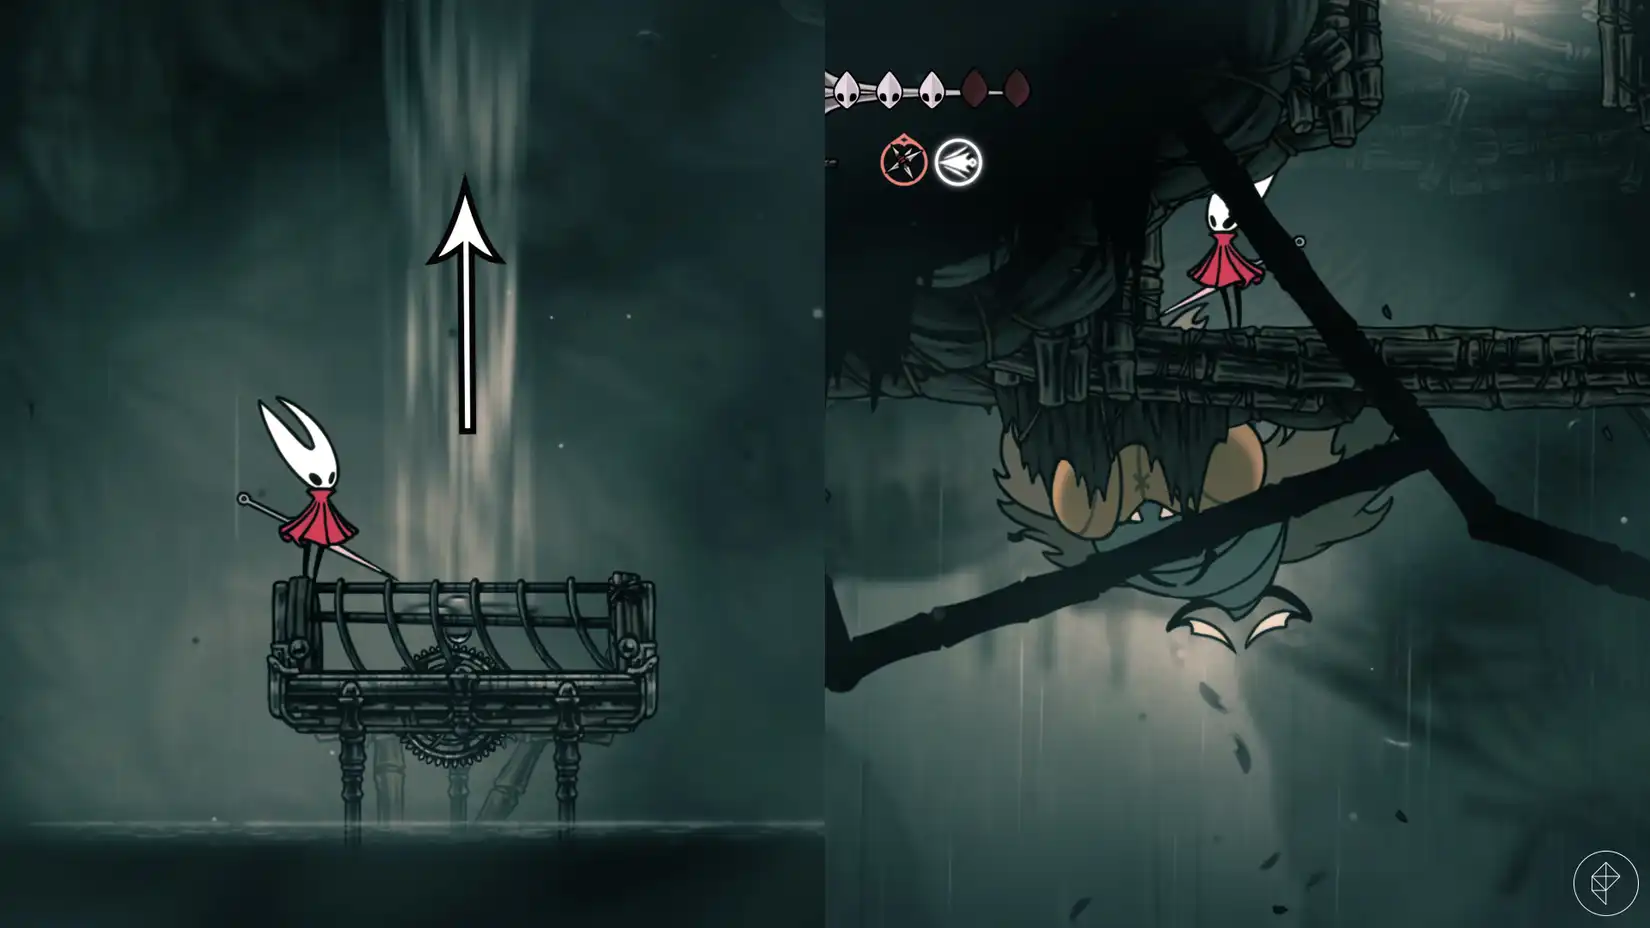
- Leap onto the platform that features an air current and ride the wind upwards.
- Proceed to the left, towards the area's exit, but do not jump through the exit. Instead, position yourself in the small nook just before the exit.
- Moorwing will follow you and begin "butting" its head against the floor directly below your position. Crucially, it cannot damage you here.
- While Moorwing is bumping the floor, jump and perform a downward slashing attack. With correct timing, you will hit Moorwing through the floor while remaining untouchable.
- Repeat this downward slash continuously. When Moorwing becomes stunned and falls to the ground, Garmond and Zaza (if present) will deal damage from below. After a few seconds, Moorwing will recover and return to the same vulnerable spot.
- Continue this rinse-and-repeat process until Moorwing is finally defeated. This technique, though not exciting, ensures victory in a matter of minutes with the Reaper Crest.
Rewards for Defeating Moorwing
Despite the significant challenge, the direct rewards for defeating Moorwing are modest. You will gain a Beast Shard and an entry in your Hunter's Journal, providing completionists with satisfaction. More importantly, overcoming Moorwing grants you direct access to Bellhart, which unlocks further quest progression, such as "The Threadspun Town" quest, and potential upgrades later in the game.